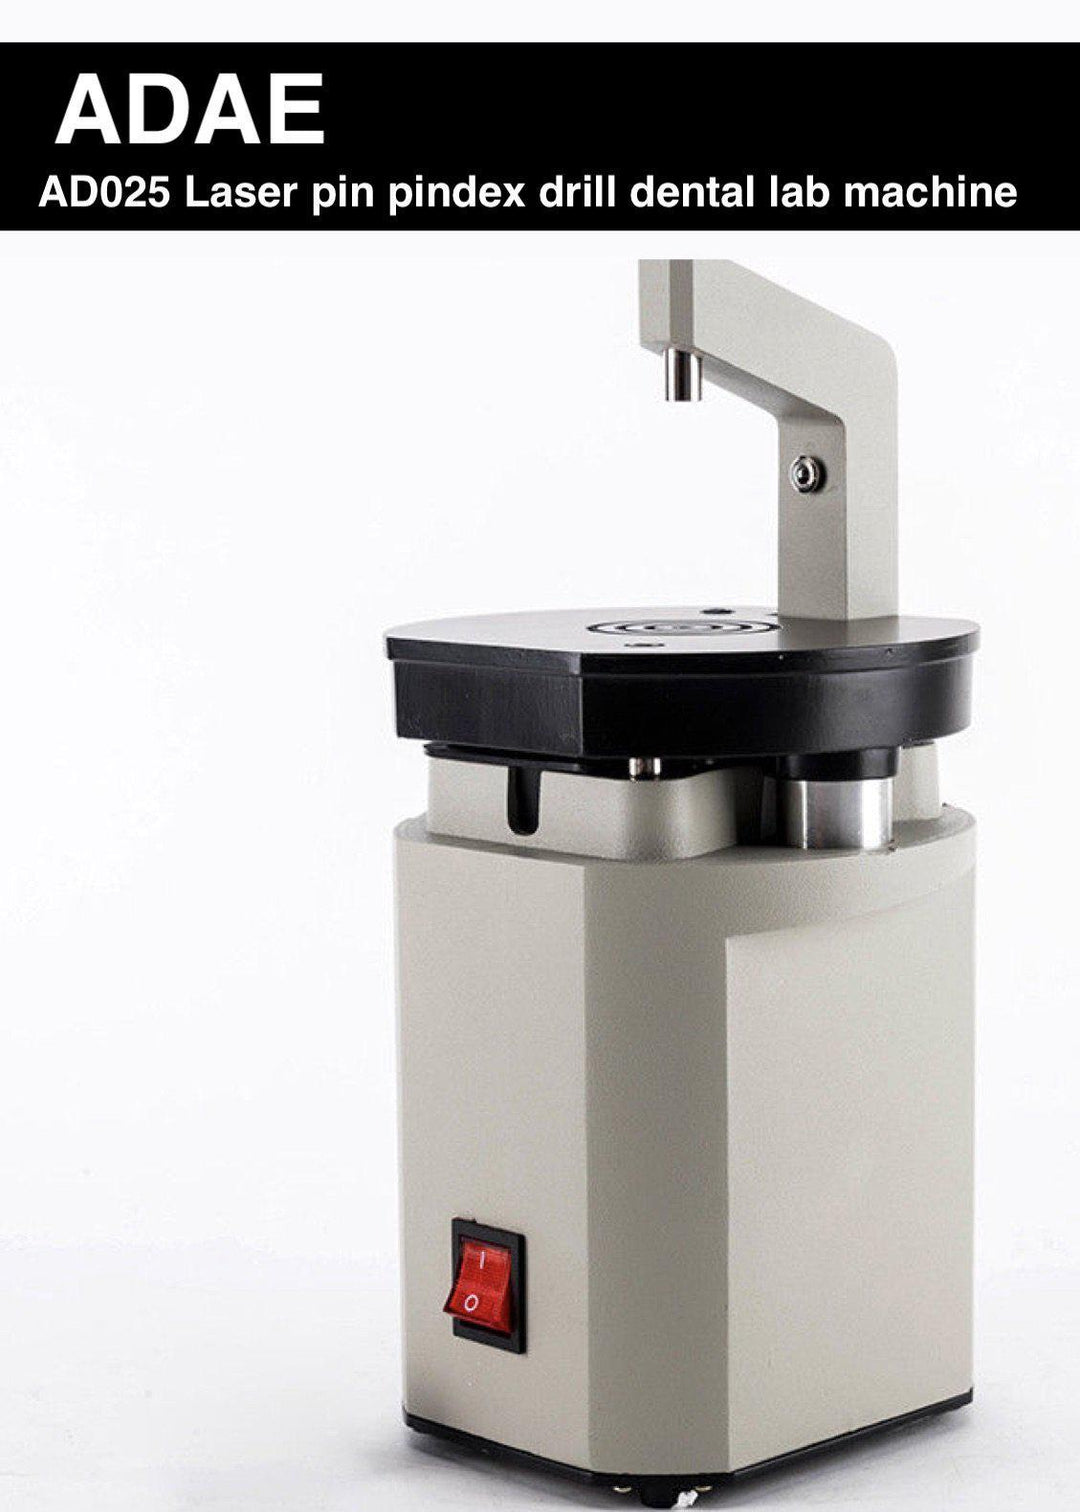
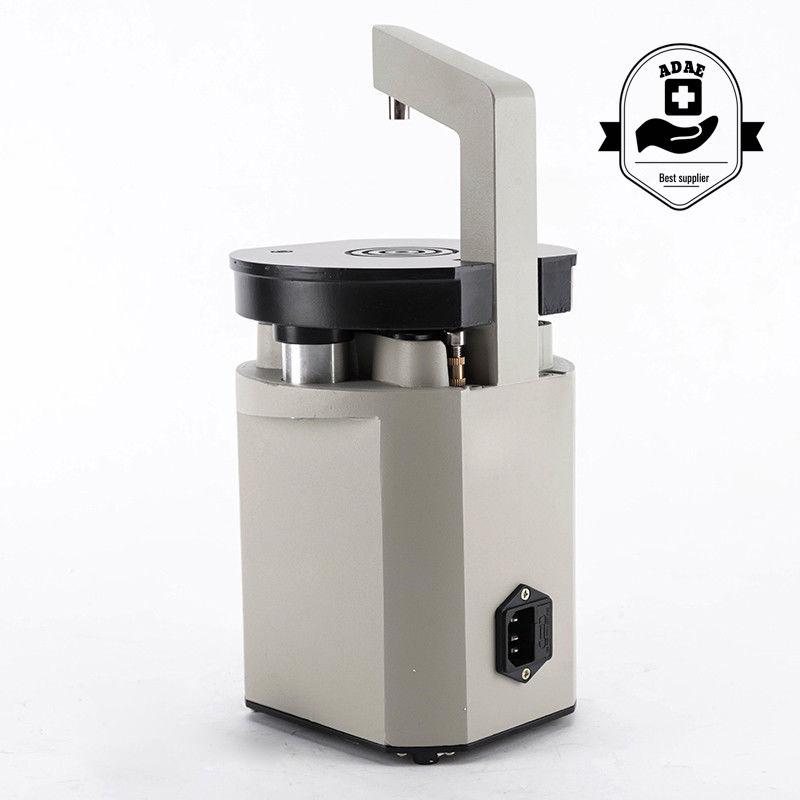
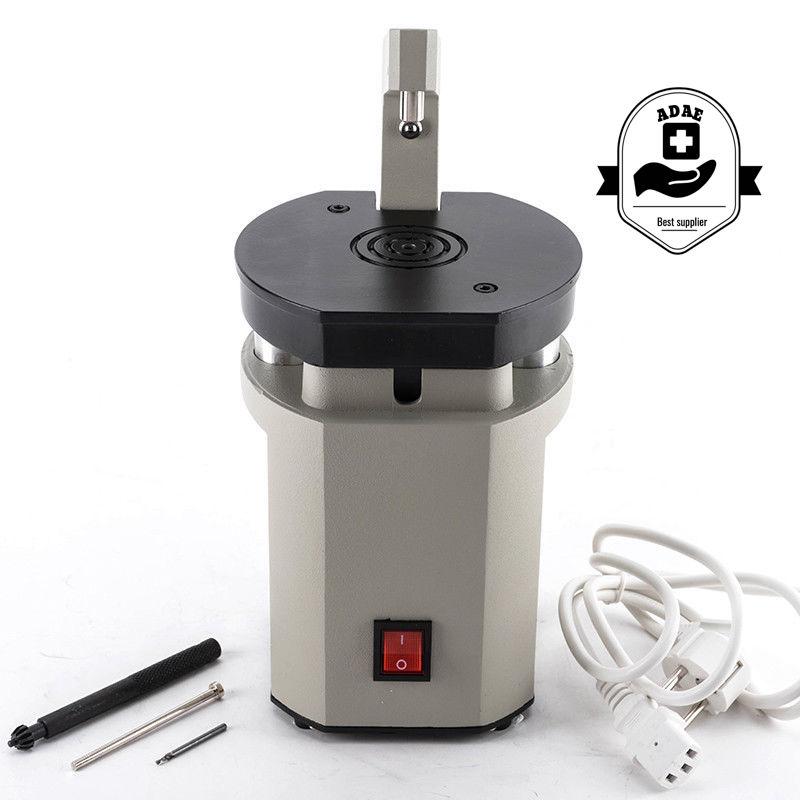
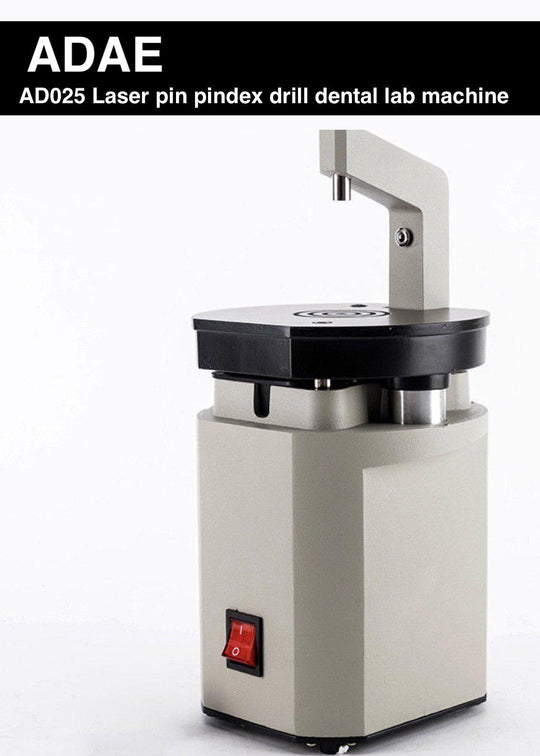
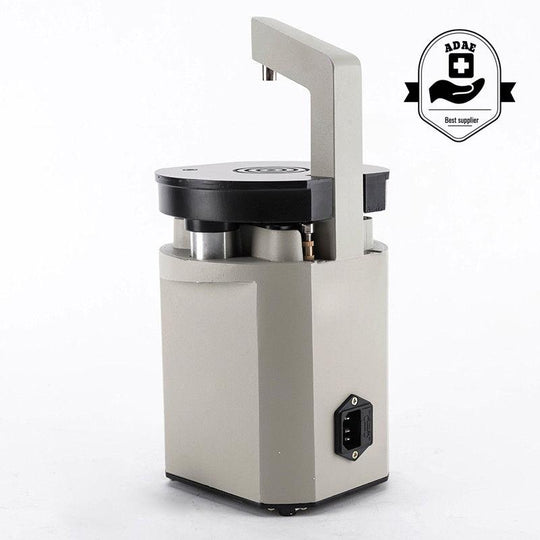
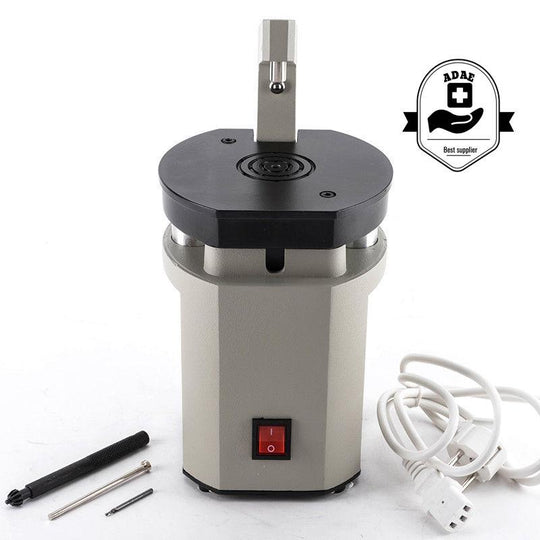
ADAE AD025 laser pin pindex drill dental lab machine
- In stock, ready to ship
- Inventory on the way
Introduction
This machine is special precise equipment for odontology, using a laser to guarantee.the hole's accuracy. This machine uses hardened alloy drill bits, the depth of the drilled holes can be adjusted.
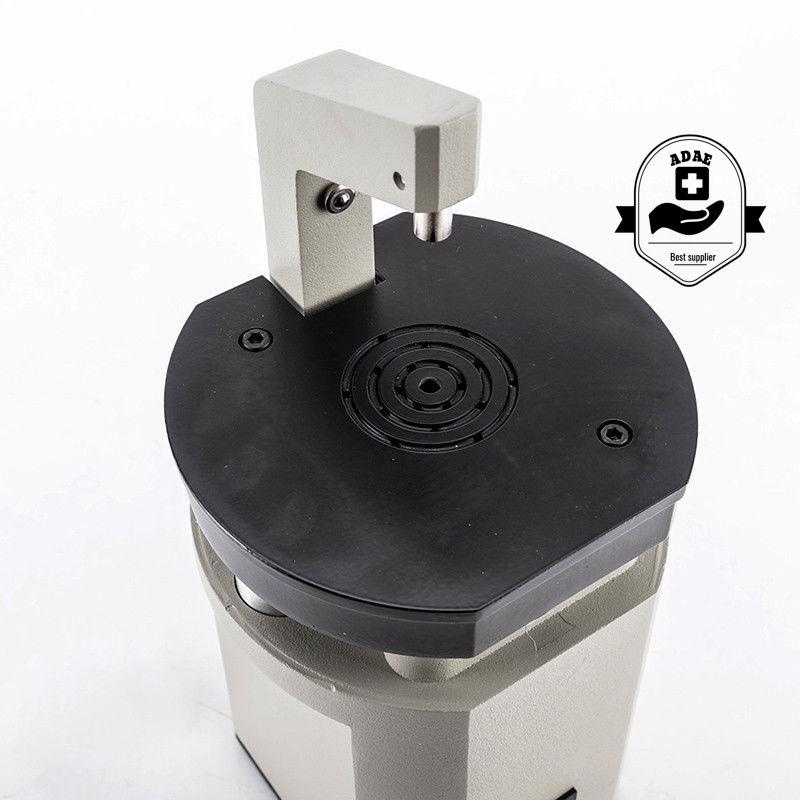
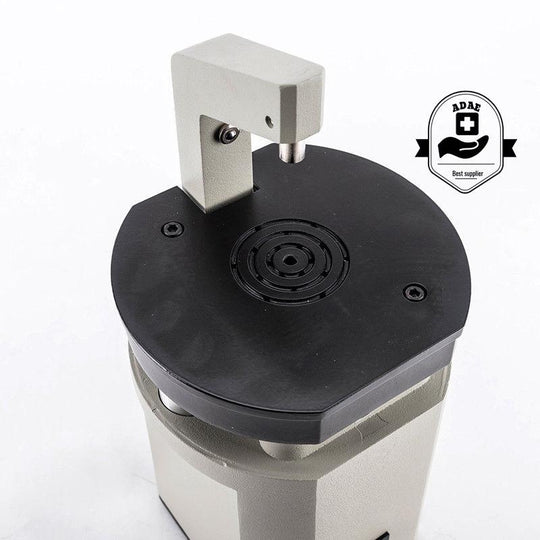
It is designed to assist fabricating accurate model and dies for use in the fabrication of dental restorations. It features high rotational speed, low noise, high precision, and easy operation. It is used to accurately drill parallel hoes into the underside of the model. This machine has a laser positioning system, the work table, and the main axis match precisely which ensure the quality of the drilling. The depth of drilling can be adjusted by the rotary switch, the minimum adjustable height is 0.15mm. The travel switch enables the motor to be turned on after the work table is being released, this will protect the motor and prolong its lifespan.
Technical parameters
- Power voltage: 220V/50Hz±10% or 110V/60Hz±10%.
- Power: 160 W.
- Rotation speed:15000rpm
- Drill bit diameter:Φ3*Φ1.85,Φ3*Φ1.95
- Total machine dimensions:160*160*330mm
A quick guide on how to use
Connect to 110V or(220V) and switch on the power. The indicator light will light up. At the same time, the red laser will be on (Φ1~Φ1.5). Adjust the drilling depth to your needs and put your plaster model inside the machine. Then you can drill and machining.
Special notice before and during the drilling process: the plaster model should be fixed by hands until the drilling process is finished, otherwise, the drill bit may break or the hole may not be drilled exactly.
How to exchange the laser head
Disconnect the power and open the bottom cover, untight the laser head and take it out. You need to cut the connection wires (red and white), but make sure that the white wire is 20mm shorter than the red one. Slide heat shrink tabe to the wires of the new laser head and solder it to the connection wires of the machine (red to red and white to white). Then slide the heat shrink tube over the solder connection and heat it up for isolation. Push the wires back into the machine and put the laser head back into positon, then fix it with screws.
After this, you may adjust the position of the laser. To do so, switch on the power and check the positon of the laser spot. To adjust its position, loose the four screws that fix the worktable(just loose, do not take out) and move the table until the position fits again. After adjustment, tighten the four sorews again.
VHow to exchange the drill bit
Disconnect the power and put down the latex chaik box.
You will need two spanners, one to fix the axis and one to unscrew the drill head. Loosen the head and exchange the drill bit (make sure to insert it deep enough into the head). Then fix the drill bit again, using the two spanners.
Warranty
One year


