FACIALLY DRIVEN FULL ARCH IMPLANT PLANNING AND AESTHETIC RESTORATION——USING AORALSCAN ELITE AND METISMILE
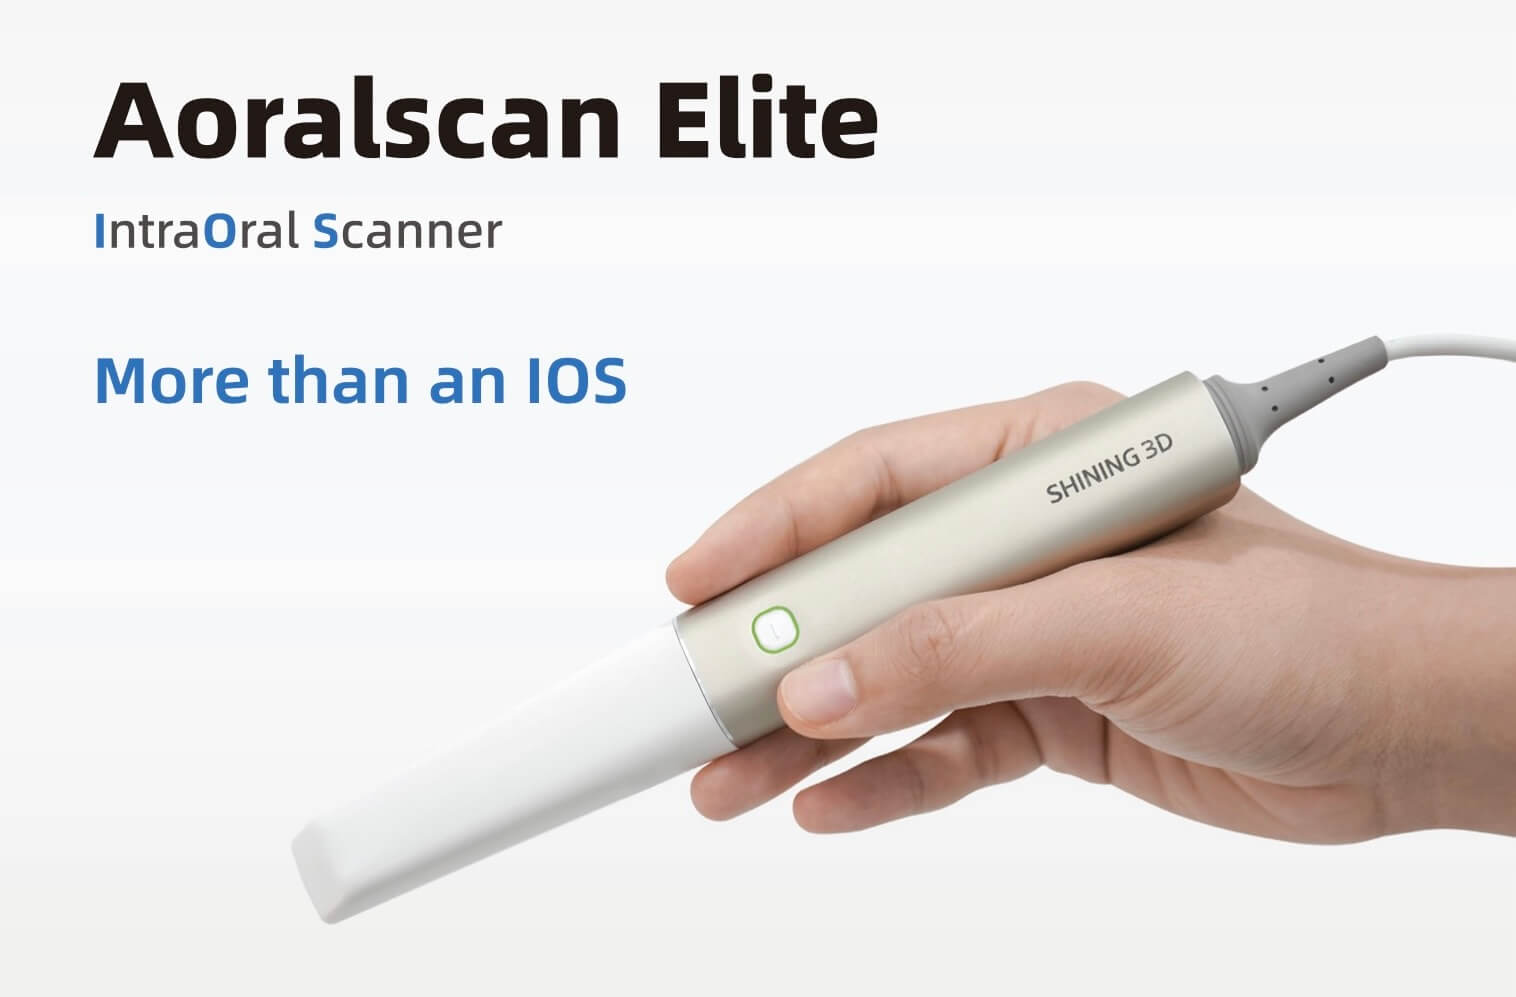
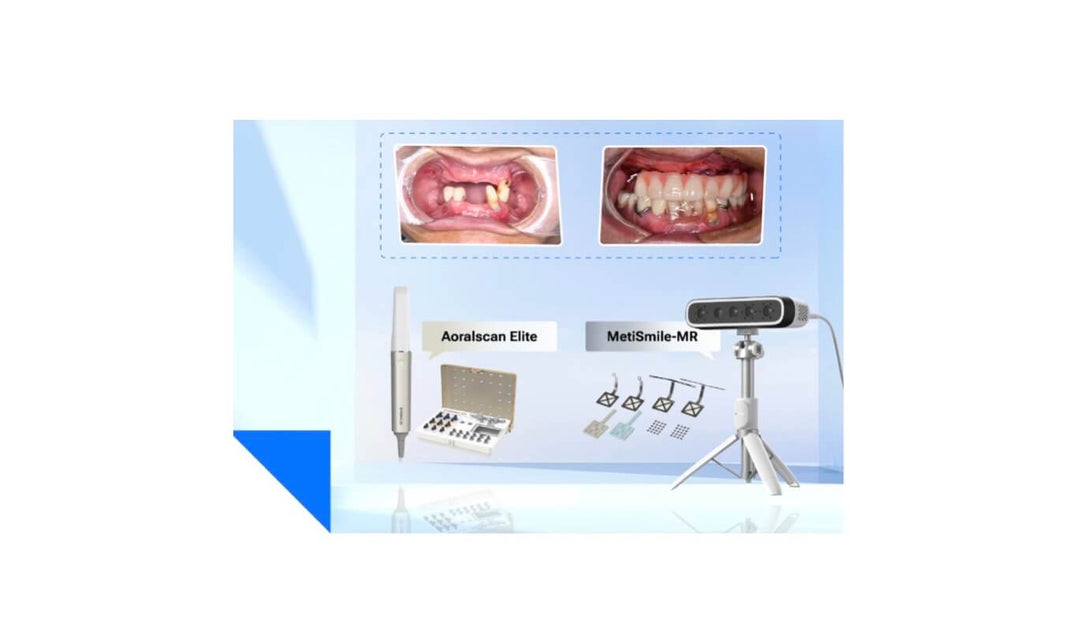
Shining 3D’s new Aoralscan Elite integrates both the intraoral scanner and photogrammetry device into a single unit, offering a combined system that simplifies the dental implant scanning process, making it more accurate and seamless. Today’s case comes from Dr. Dimitris Tasakos, who combines digital means such as facially driven implant planning, photogrammetry scanning technology, facial driven aesthetic restoration technology to accurately achieve full arch restoration.
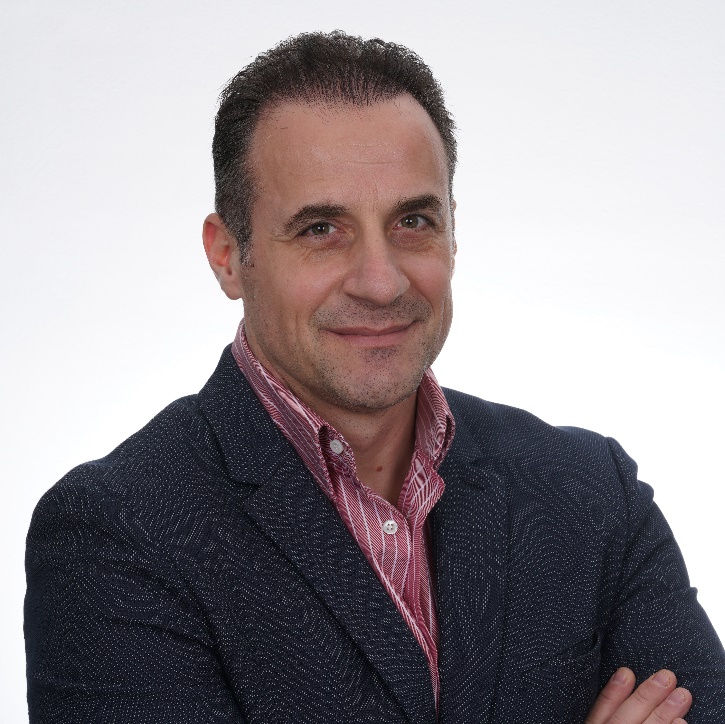
Fig 1: Dr. Dimitris Tasakos.
Dr. Dimitris Tasakos is a DSD Master and ICOI Fellow, renowned for his active involvement in lectures and hands-on seminars on Digital Dentistry. His expertise spans Digital Impressions, Digitally Guided Implantology, and prosthetic restoration of implants, with a particular focus on direct loading protocols. Dr. Tasakos operates a dental clinic in Athens, where he offers comprehensive treatment using advanced digital technologies.
Case Analysis
A 52-year-old female patient presented with significant decay, cysts, and fractures in several upper teeth, as revealed by X-ray examination. All available treatment options were thoroughly discussed with the patient, who chose to proceed with implant therapy for a more favorable long-term prognosis.
Fig 2(Left): The X-ray examination and symptom diagnosis
Fig 3(Right): The intraoral photos and face photos before treatment
Treatment Planning and Data Collection
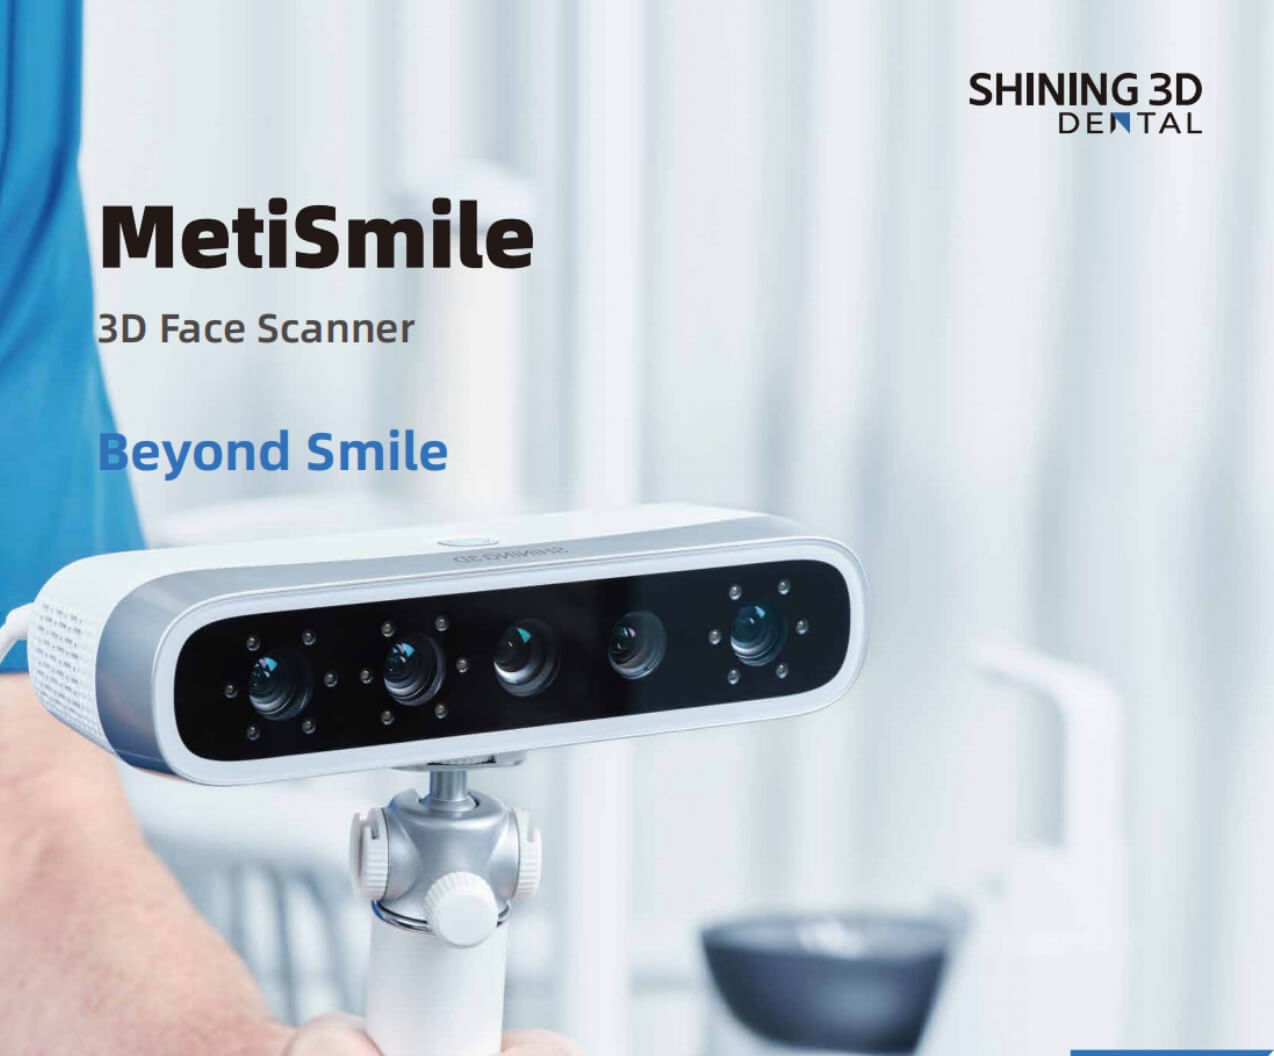
The dentist obtained the necessary digital records, including photos, face scans, intraoral impressions, and dynamic bite data, using MetiSmile and Aoralscan Elite to support precise implant planning and aesthetic restorations.
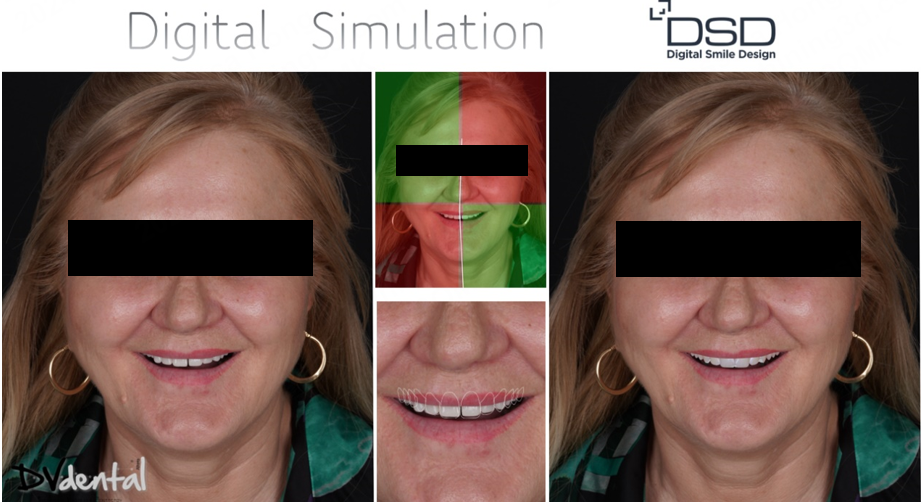
Fig 4: Digital smile simulation based on 2D photos
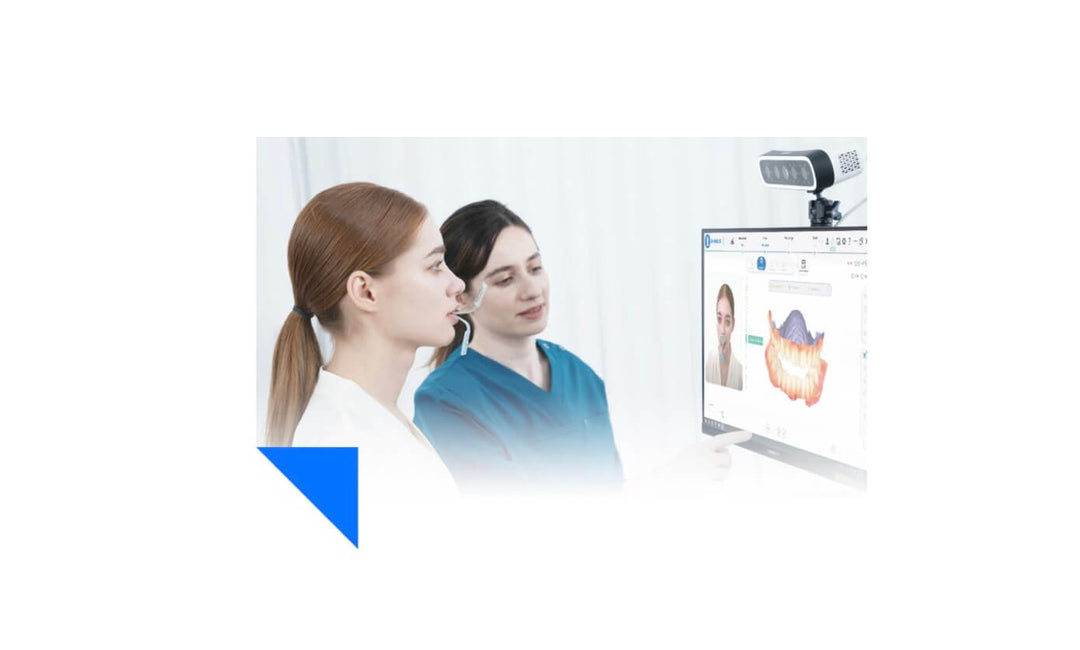
Initially, a 2D smile design simulation was created, tailored to the patient’s specific needs. Once the proposed set-up was approved, the dentist began capturing the necessary oral and facial data. The Aoralscan Elite was used to scan both the upper and lower jaws, followed by Metismile for facial data acquisition. By registering and logging into the Shining 3D platform, the dentist gains seamless access to all the Shining 3D software. The intraoral scan data is automatically imported when scanning the patient’s face with the same account.
Fig 5 (Upper): The intraoral scan data captured by Aoralscan Elite
Fig 6 (Lower): The face scan data captured by MetiSmile is aligned with the intraoral scan data to show the virtual patient in the correct coordinate system
Additionally, CT data can be easily integrated and aligned within the facial scanner software, creating a comprehensive dataset that includes maxillary, mandibular, facial, and CT information to guide the next design stage.
Fig 7 (Upper): The alignment of CBCT, intraoral scan data, face scan data to create a virtual patient, front view
Fig 8 (Middle): Left side view
Fig 9 (Lower): Right side view
Afterward, the dentist proceeded with a 3D facially driven design. Implant placement was then digitally planned using the Nemoscan software.
Fig 10 (Upper): The implant planning process in Nemoscan software
Fig 11 (Lower): Facially driven implant planning
Video 1: The Dynamic Bite of the patient captured by Elite was imported into Nemoscan software.
Implant Planning and Surgery
Due to inadequate retention of the tissue-supported surgical guide, teeth #15, #17, and #25 were retained to support a tooth-supported surgical guide, while all other teeth have been extracted. The areas around teeth #16, #14, #24, and #26 require internal sinus lifts due to insufficient bone thickness. Additionally, by using facial data as a reference, the dentist can accurately determine the optimal angle and direction for implant placement. Following the implant planning process, a surgical guide was generated and 3D printed for use during the implant surgical procedure.
Extract the residual roots and teeth as indicated in the preoperative plan, then perform step-by-step osteotomy preparation using the surgical guide to ensure precise implant placement.
Fig 12 (Left): The implant surgical guide
Fig 13 (Right): The implant surgical procedure guided by an implant guide
Scanning After Surgery and Design
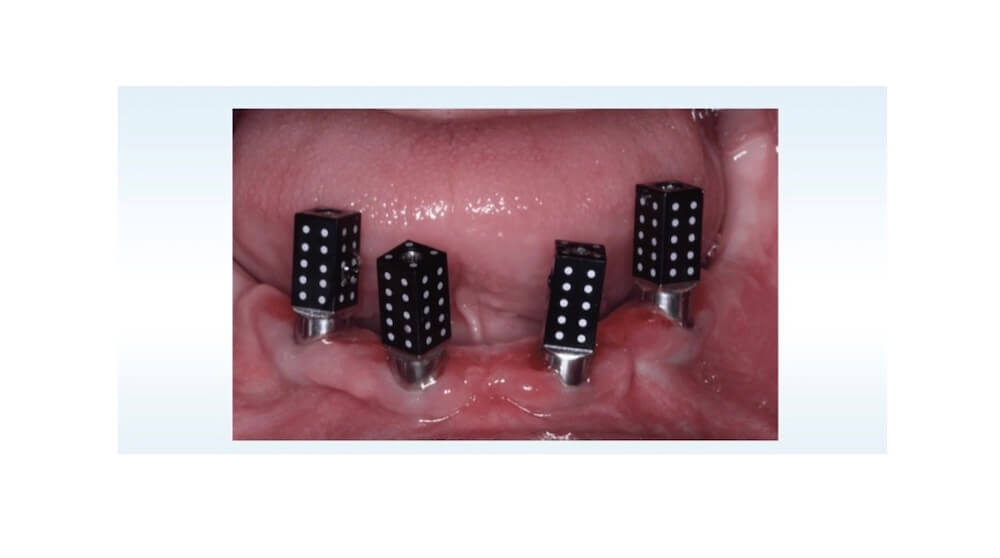
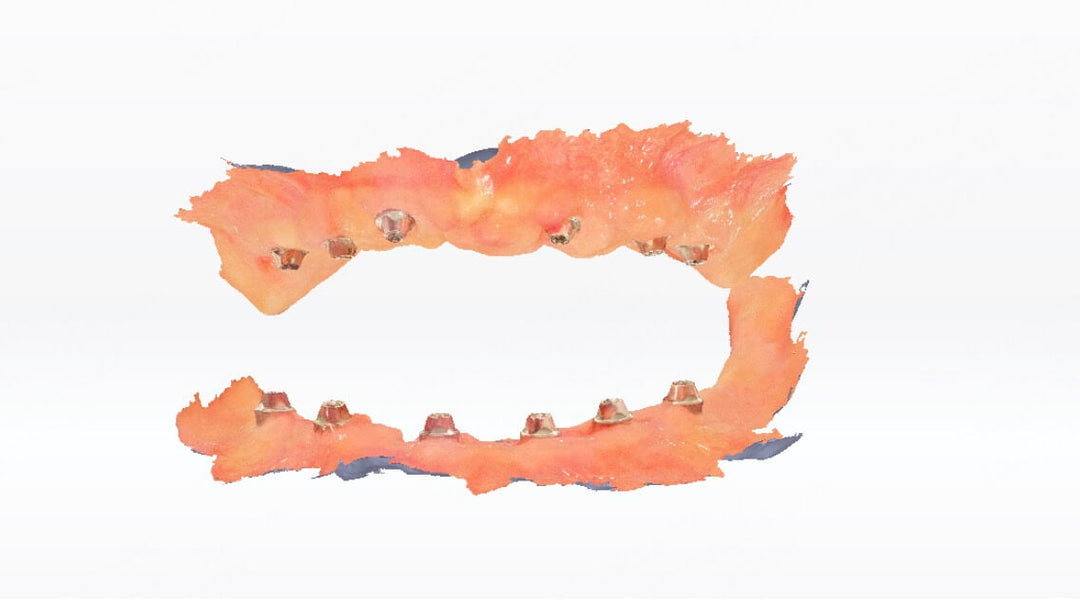
After suturing the soft tissue, ensure the surgical site is clean and free of blood. It is crucial to use Aoralscan Elite to capture the post-op data of the upper and lower jaw soft tissues, as well as implant positions, since soft tissue can undergo significant changes before and after implant surgery. To ensure the passive fit of the restoration, Aoralscan Elite uses photogrammetry technology to first capture data from the coded scanbody, which is then transferred to the corresponding implant scanbody library for restoration designing later.
Fig 14 (Upper): Scan the coded scanbody to capture the implant position accurately
Fig 15 (Lower): Scan the coded scanbody and gingiva to match them
Dentist used the facial data for mounting on the virtual articulator to determine the midline, designed the temporary restoration. Since dynamic occlusion data has already been captured with Aoralscan Elite, dentist can minimize occlusion interference during adjustments. Create the digital models, then print the models and temporary restorations for an extraoral try-in before placing them in the patient’s mouth.
Fig 16 (Upper): Facially driven mounting on the virtual articulator for a more aesthetic design
Fig 17 (Left) : The restorations design process
Fig 18 (Right): The printed implant model and the temporary restorations
Immediate Loading
Once the temporary restorations were ready, the dentist performed the try-in in the patient’s mouth. The temporary restorations were fitted passively onto the multi-unit abutments, and X-ray examination confirmed its well-seated. The occlusion is even, with no high points or interference. The tooth shape, midline, and incisal edge position are closely aligned with the preoperative simulation, and the patient is very satisfied with the outcome.
Fig 19 (Upper left): The X-ray examination after placing the restorations
Fig 20 (Upper right): The intraoral photo after treatment
Fig 21 (Middle): The extraoral and intraoral photos before and after treatment
Fig 22 (Lower): The face photo before and after treatment
Comments from Dr. Dimitris Tasakos:
I’m really impressed with what Aoralscan Elite has brought to my practice. It’s completely changed the way I approach edentulous implant cases, everything is easier, more accurate, and when combined with facial scan data, it makes the restorations not only more precise but also more esthetic for my patients.






Leave a comment