FULL DIGITAL WORKFLOW OF IMPLANT CASE
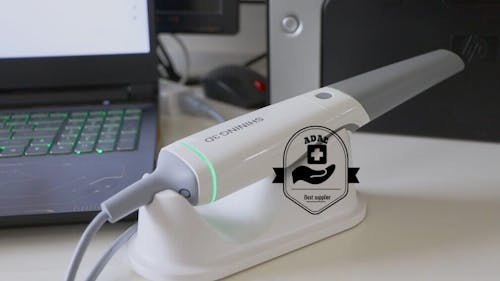
Nowadays, digital implant restoration is becoming more popular with the improvements in dentistry. In this clinical case we want to display an integrated digital implant restoration workflow using the Shining 3D intraoral scanner, Aoralscan and 3D printer AccuFab-D1. This digital workflow not only provides more comfort to patients, but also improves the work efficiency of the dental practitioners, saving the trouble of making physical impressions and models.
Case Information:
Procedure: Single crown based on implant restoration
Dentist: Chen Qingsheng, Hangzhou Hospital of Stomatology
Patient: Female
Dental History: Missing teeth #24 & #46
Treatment Plan: Implant crown restoration #24 & #46
Implant System: OSSTEM 4.5×10mm RN
Restoration System: Customized abutment + Zirconia full crown.
Dental Laboratory: Fuzhou World Medical Technology Co., Ltd.
Solution integrates: Aoralscan Intraoral Scanner, AccuFab-D1 Dental 3D Printer
Workflow
1. Pre-op Examination
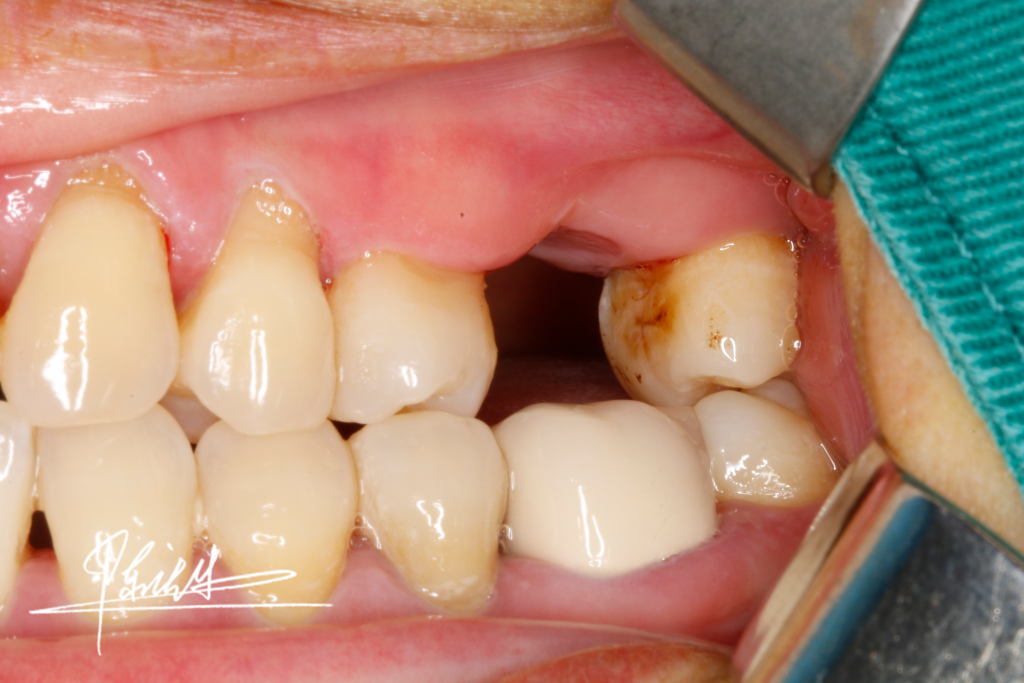
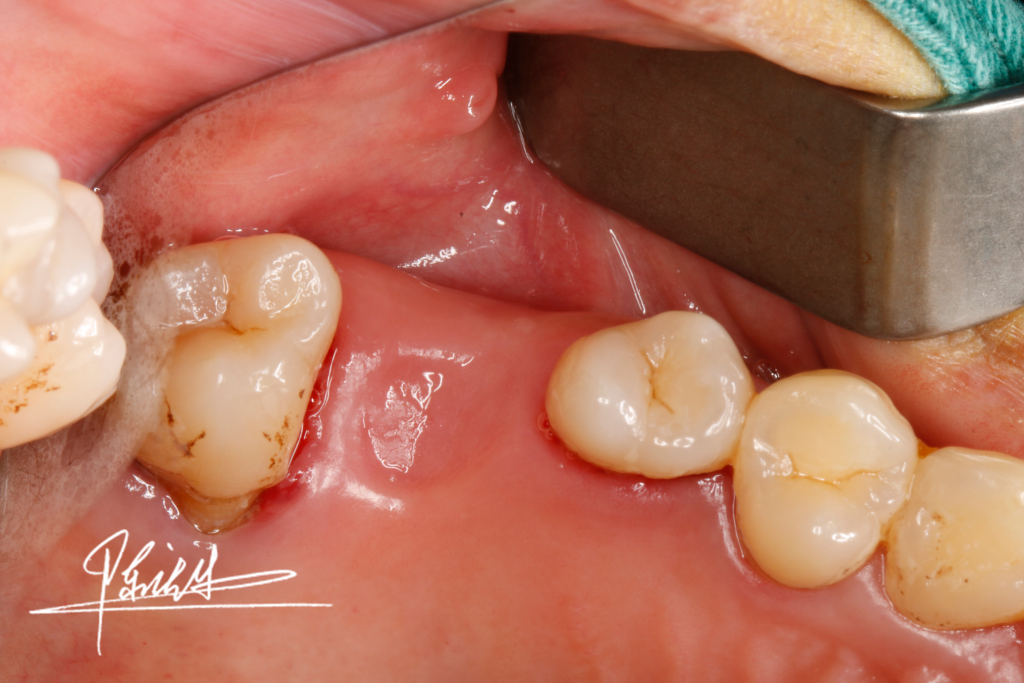
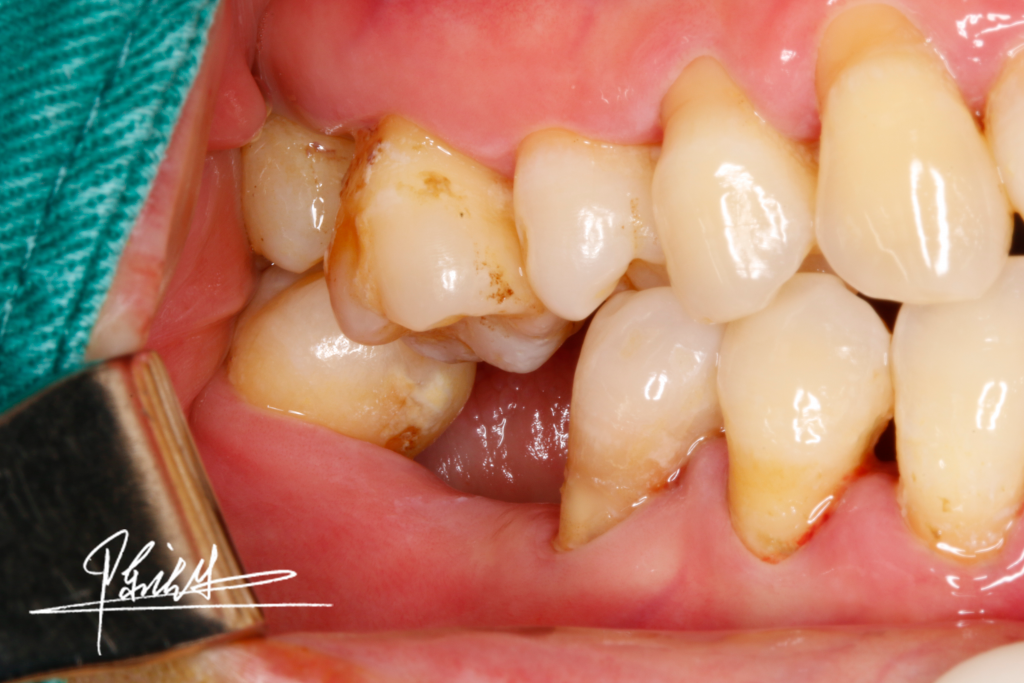
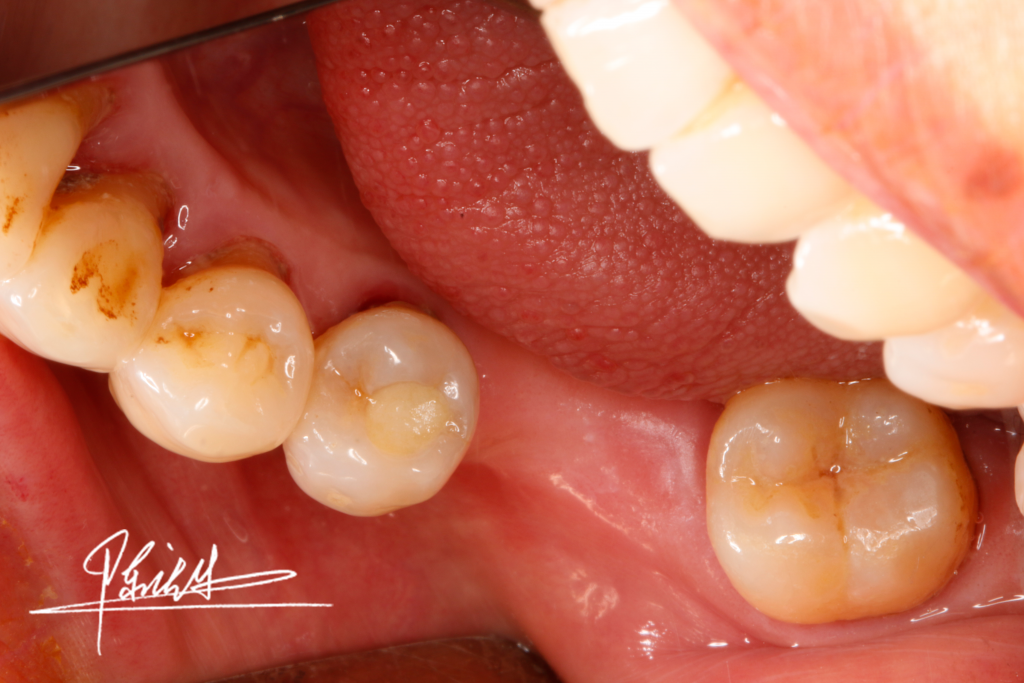
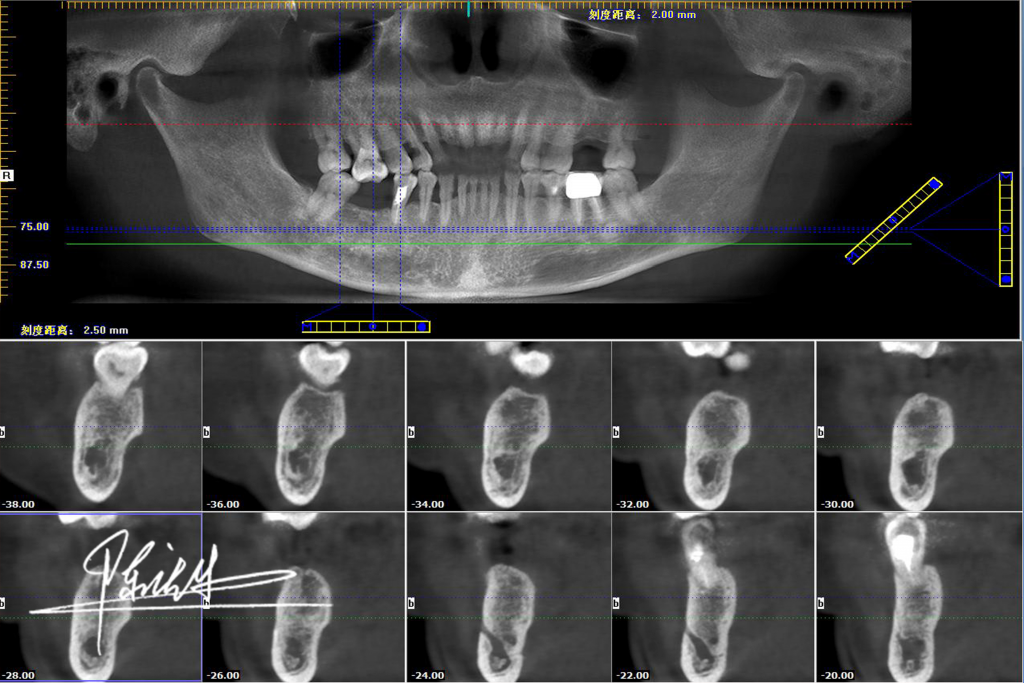
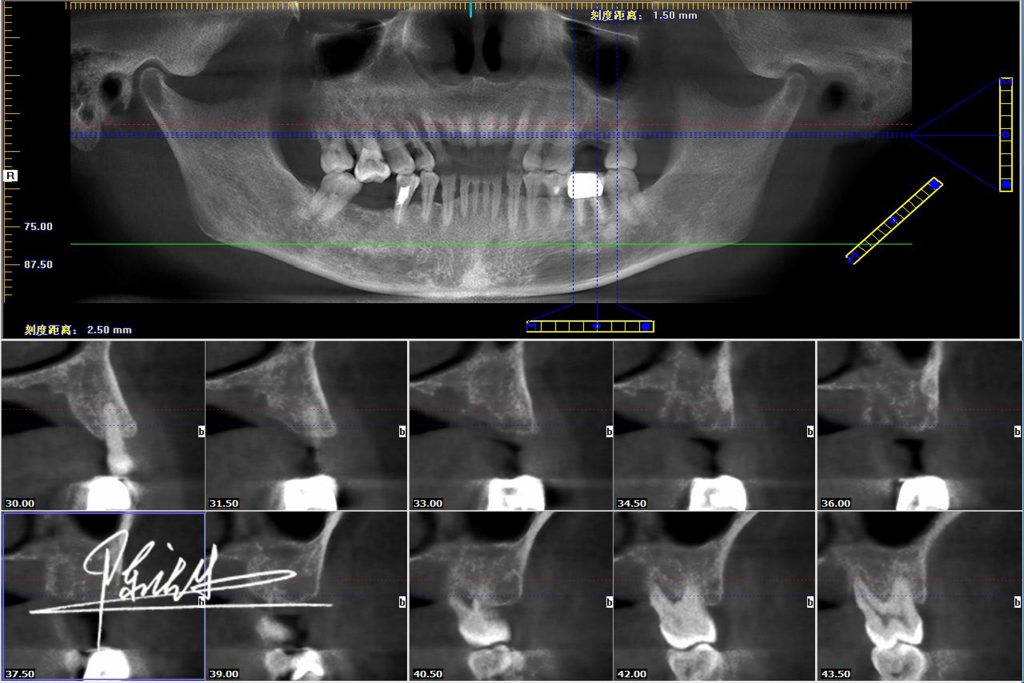
Radiographic Examination (CBCT) before surgery, CBCT result shows the amount residual bone is acceptable for an implant.
2. Implant Surgery

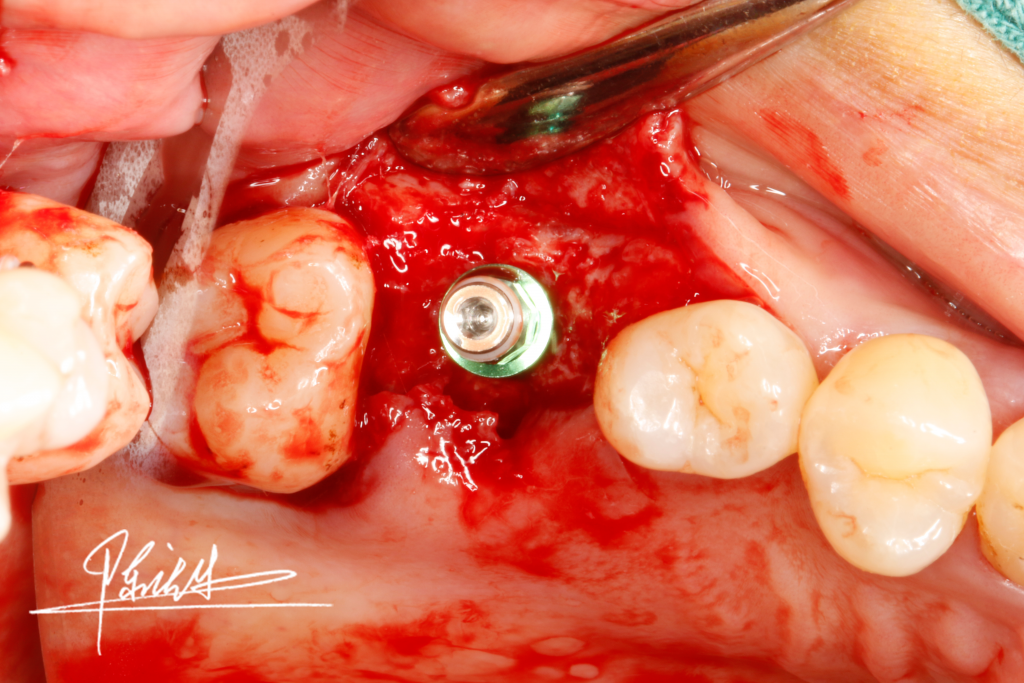
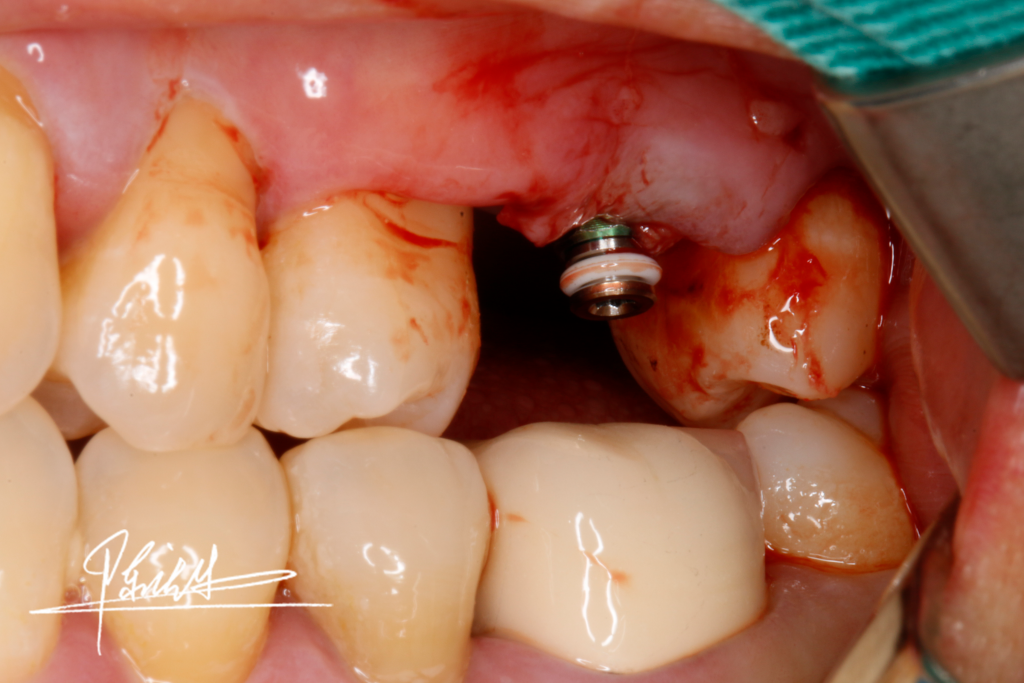
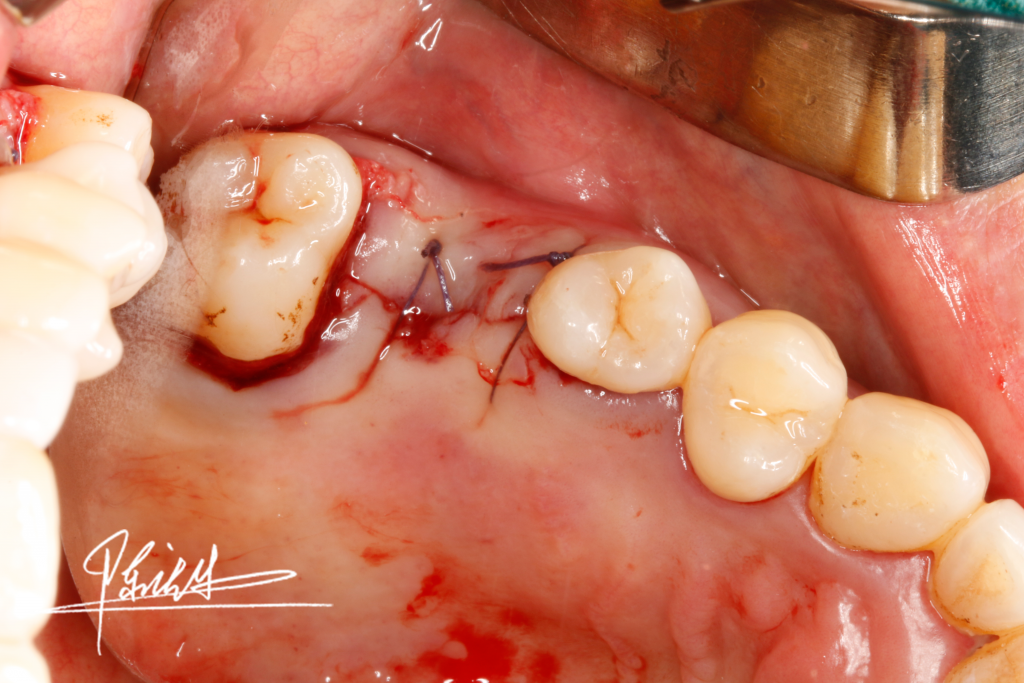

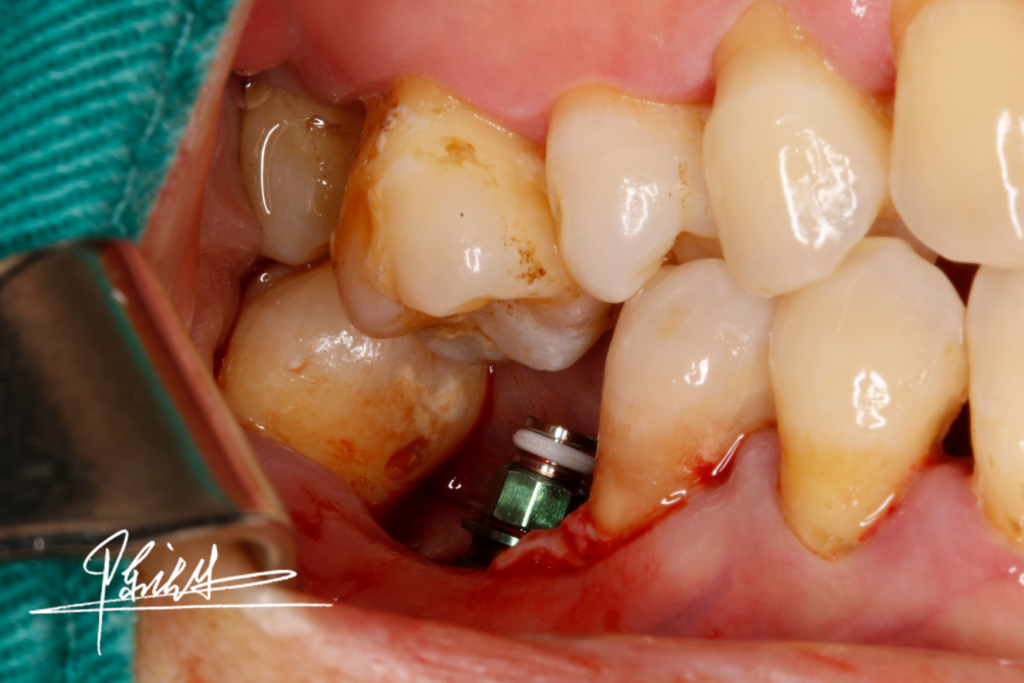
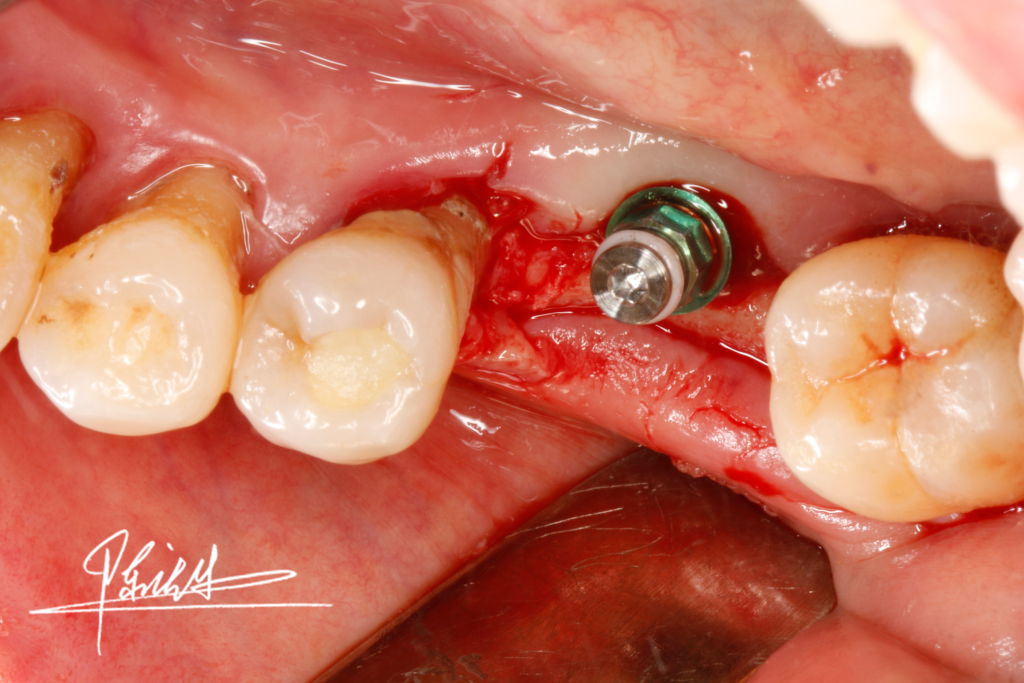
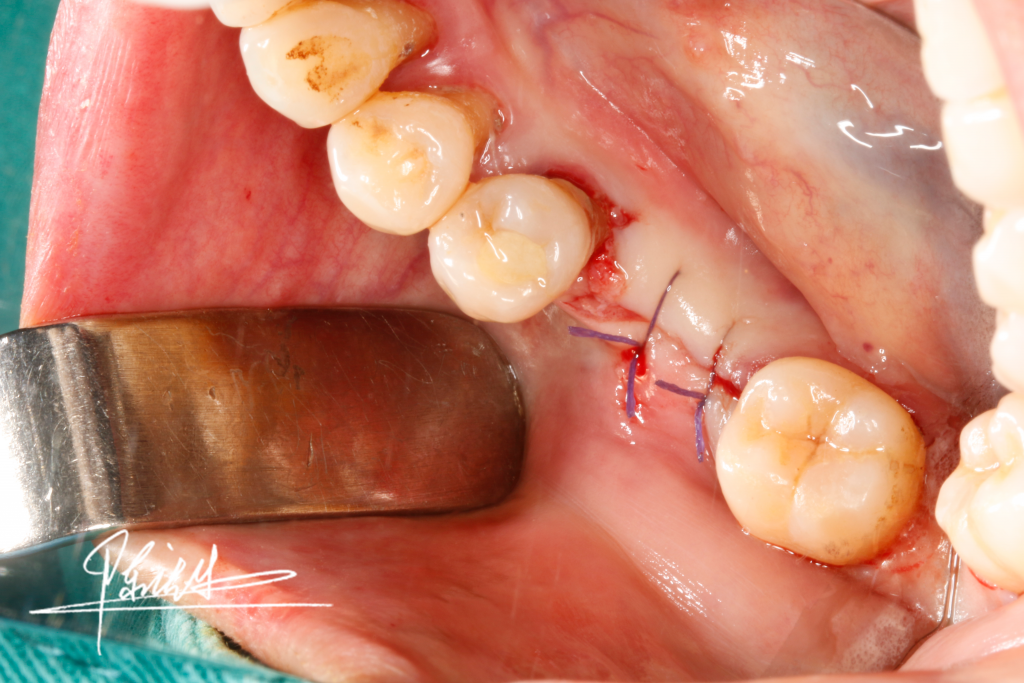
Implant bed preparation: placing the OSSTEM 4.5×10mm RN implant; the 3D position of the implant was accurate and the initial stability is ideal.
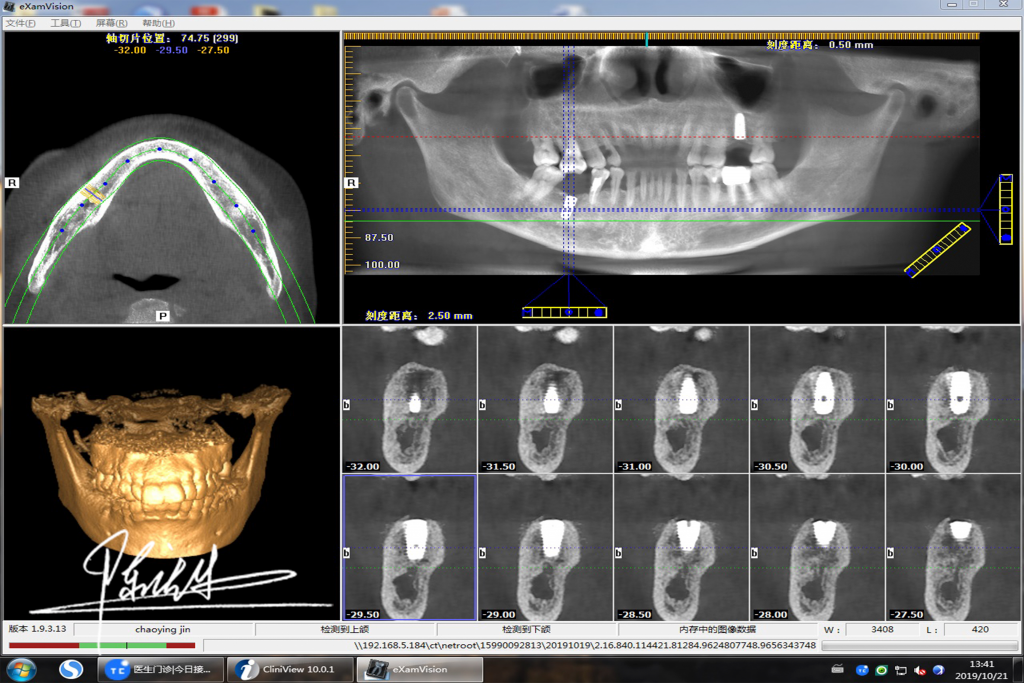
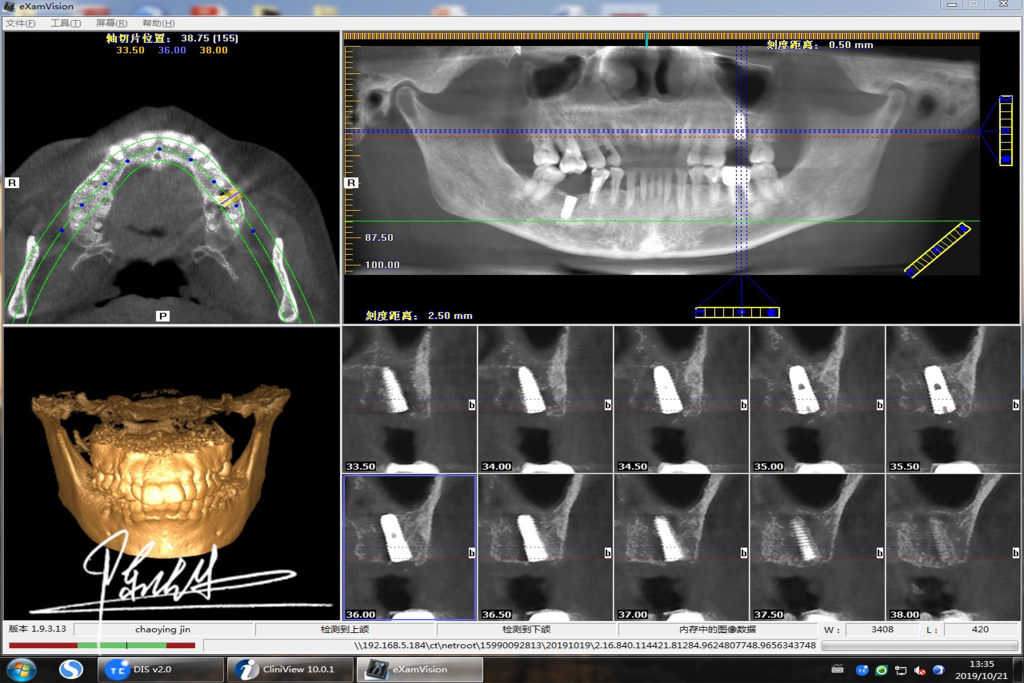
Radiographic Examination-CBCT after surgery: the 3-dimensional position of implant is accurate.
3. Acquire digital impression
Finish the Tissue Sculpting
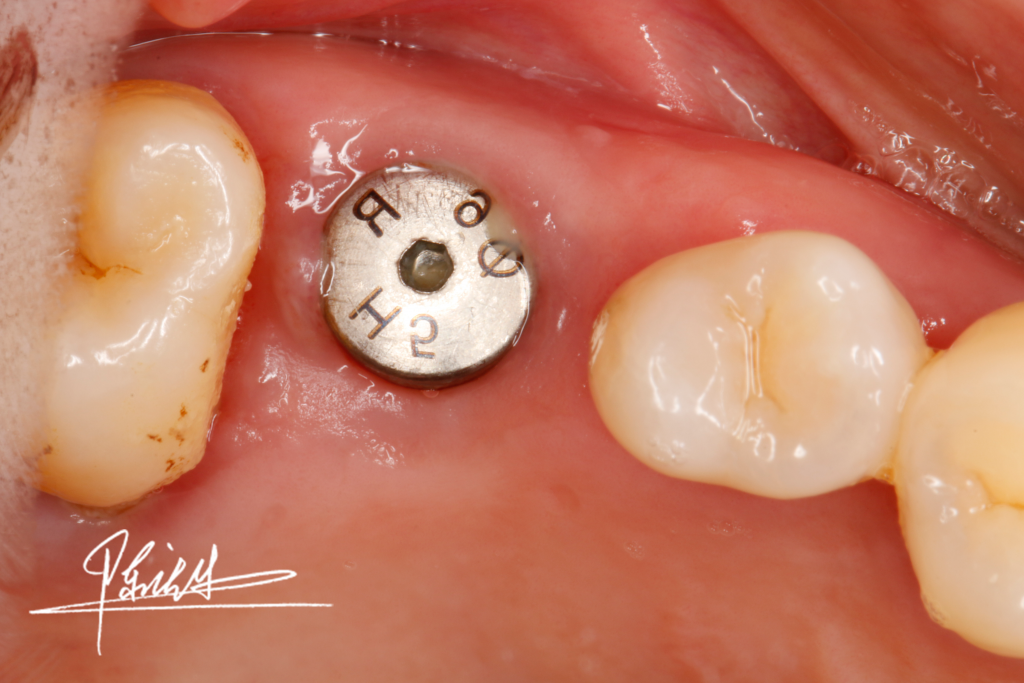
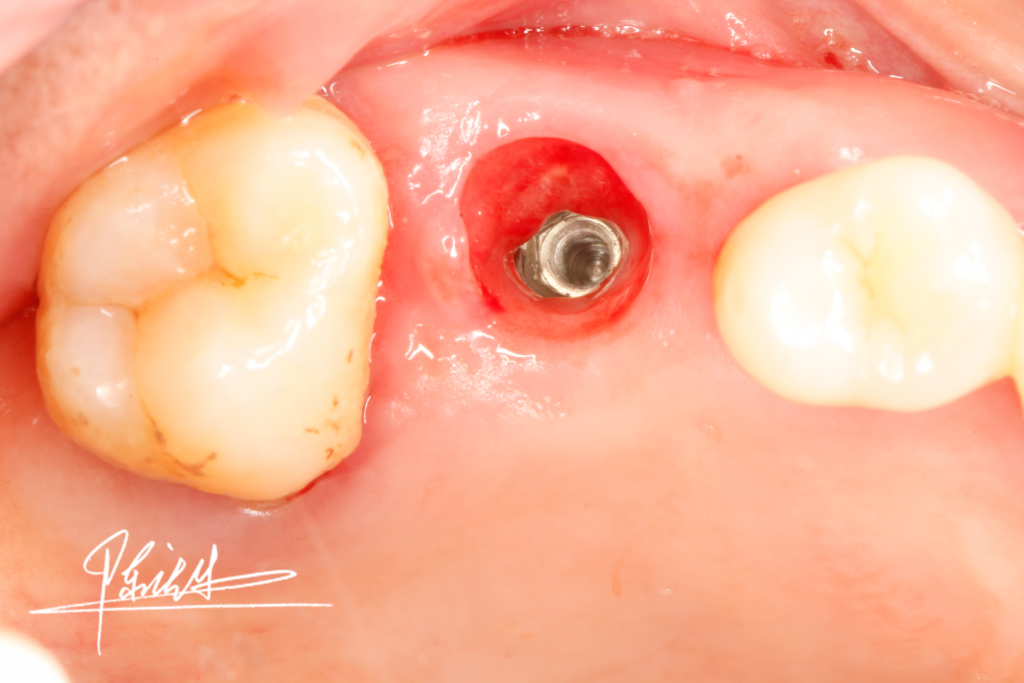
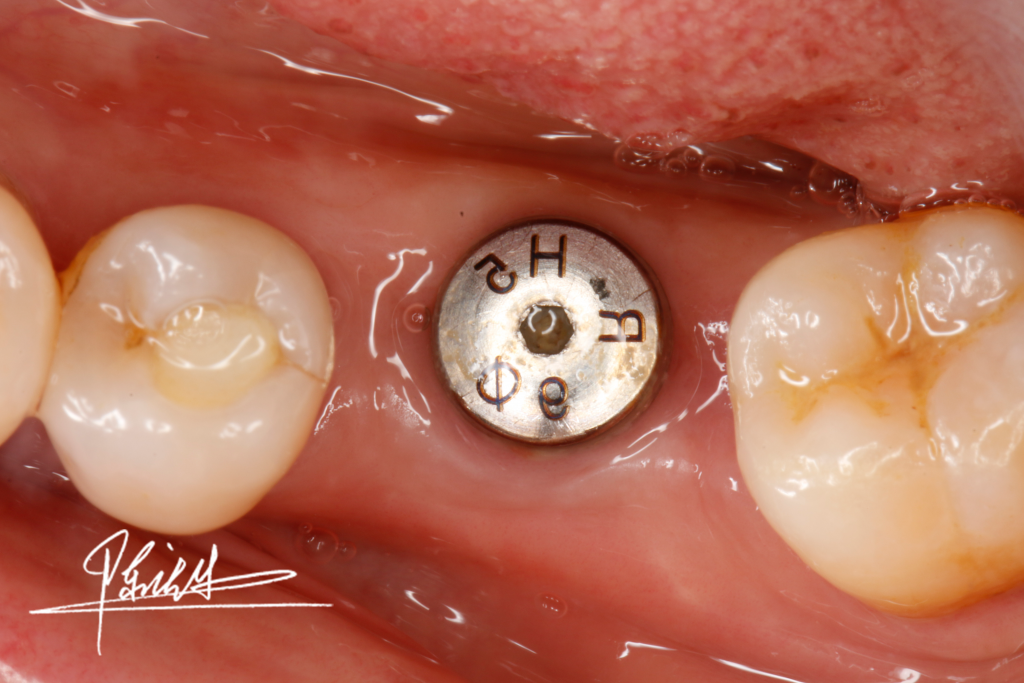
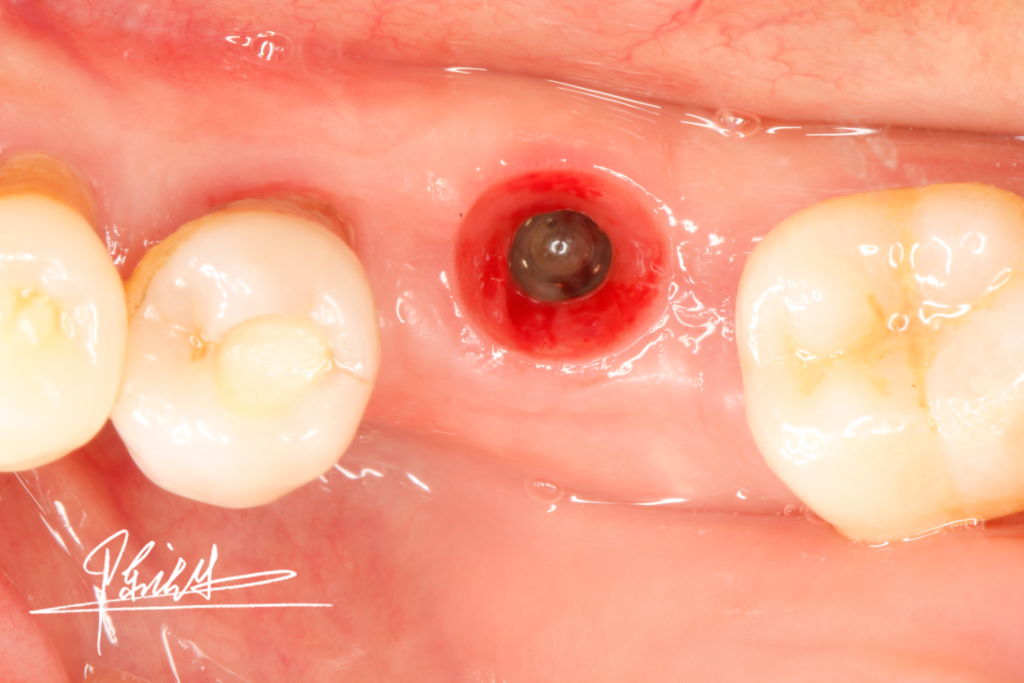
After the 3 months of gingiva healing period, we obtained a good tissue contour and morphology. We proceed to obtain the digital impression by using the intraoral scanner and fabricate the restorations.
Scan Body Sterilization
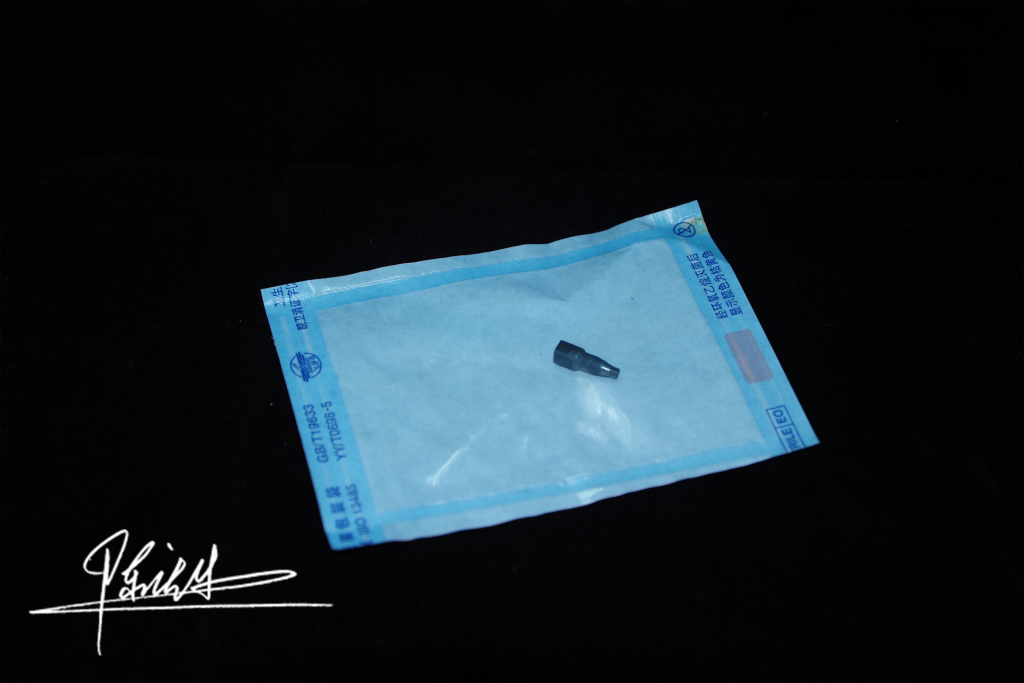

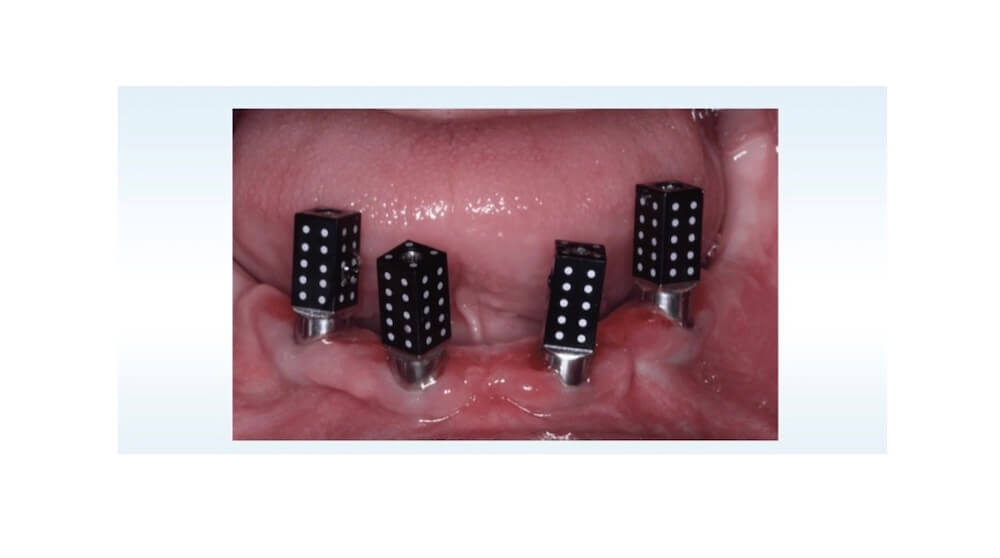
Disinfection of the scan bodies is crucial before proceeding to obtain the digital impression. Rinsing the scan body for 5mins before placing it into the sterilizer cabinet at 121℃1.5 atm for 15mins (the scan body should be placed inside a sterilized bag).
Scan Body Try-in
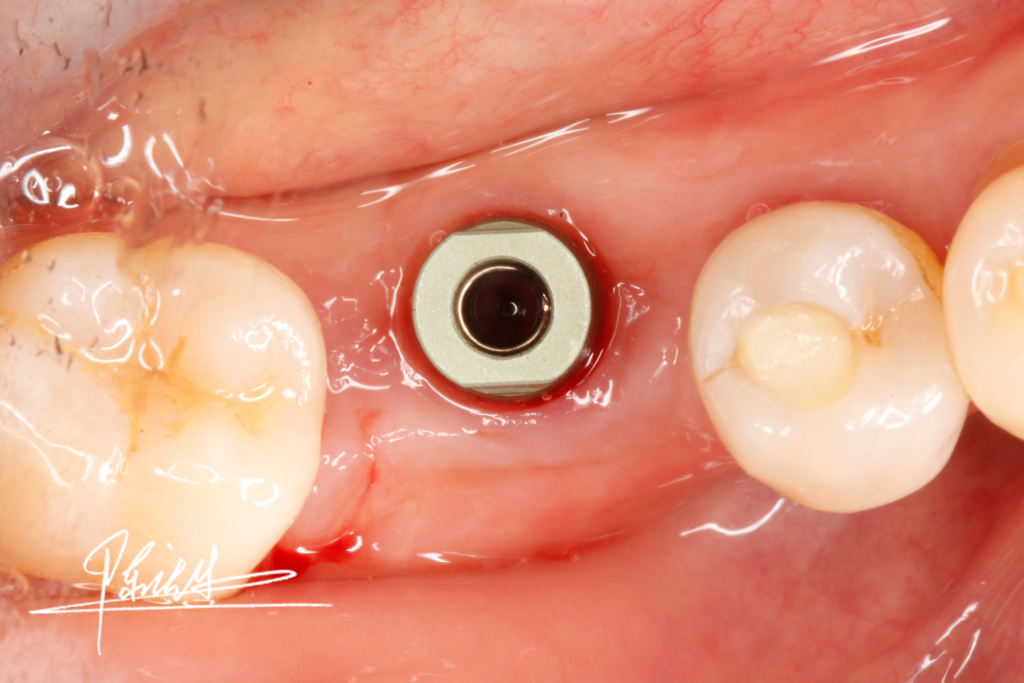
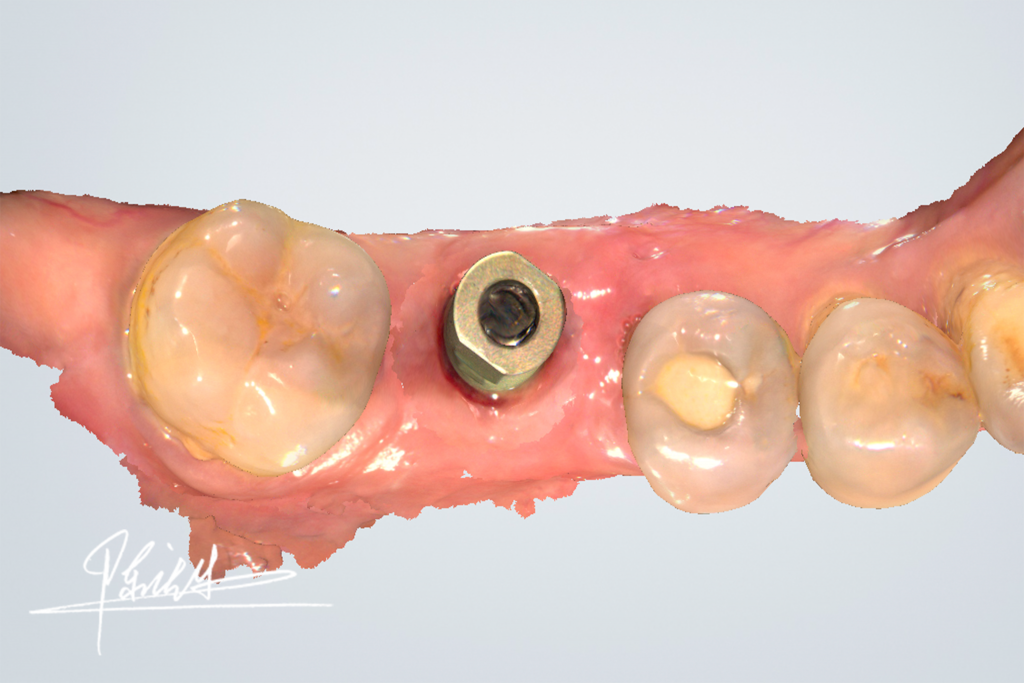
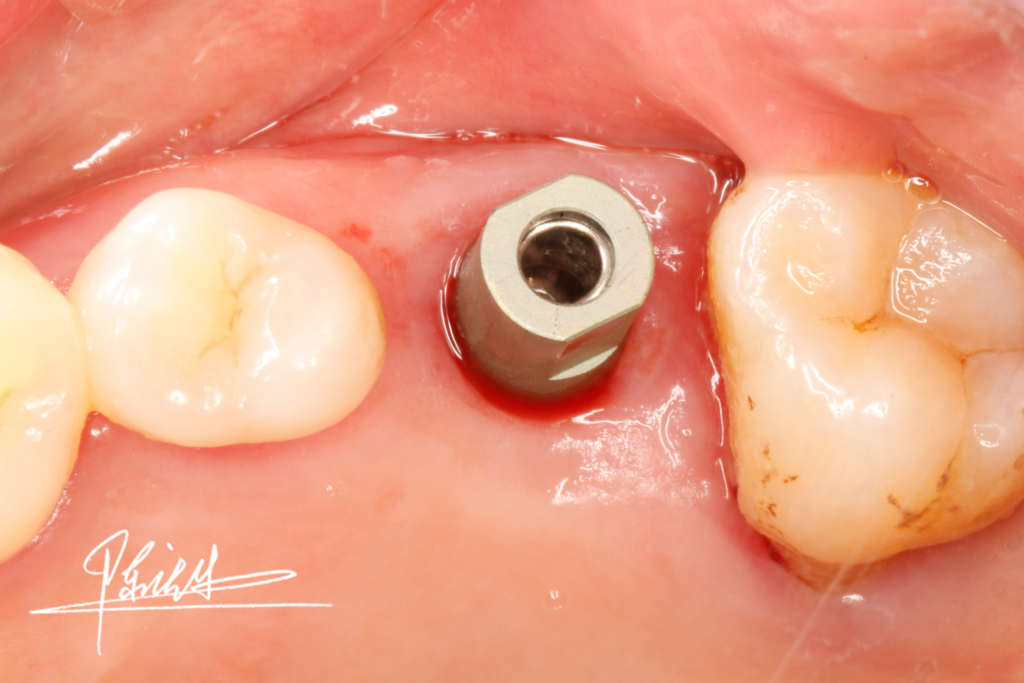
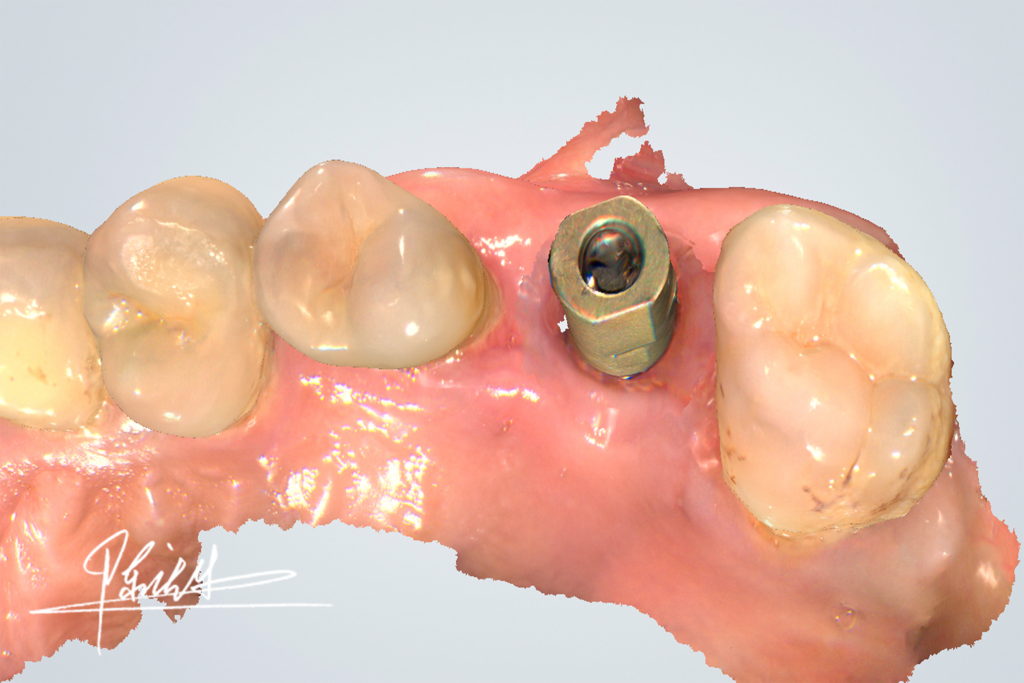
Fit the sterilized scan body on the abutment inside the mouth, check the placement of the scan body carefully. X-Ray examination can be applied if necessary.
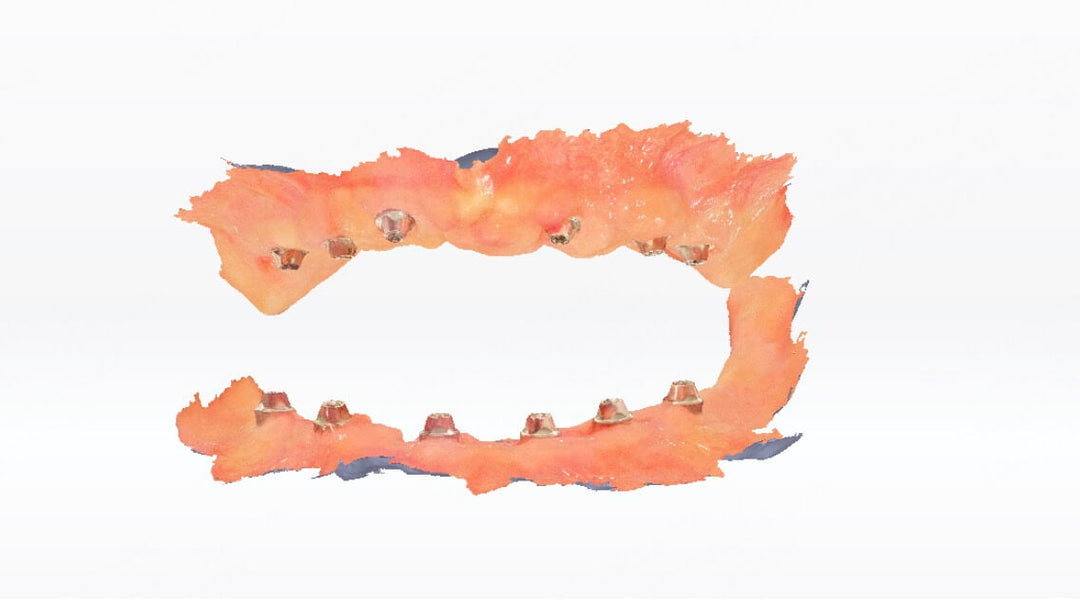
Acquire intra-oral Data
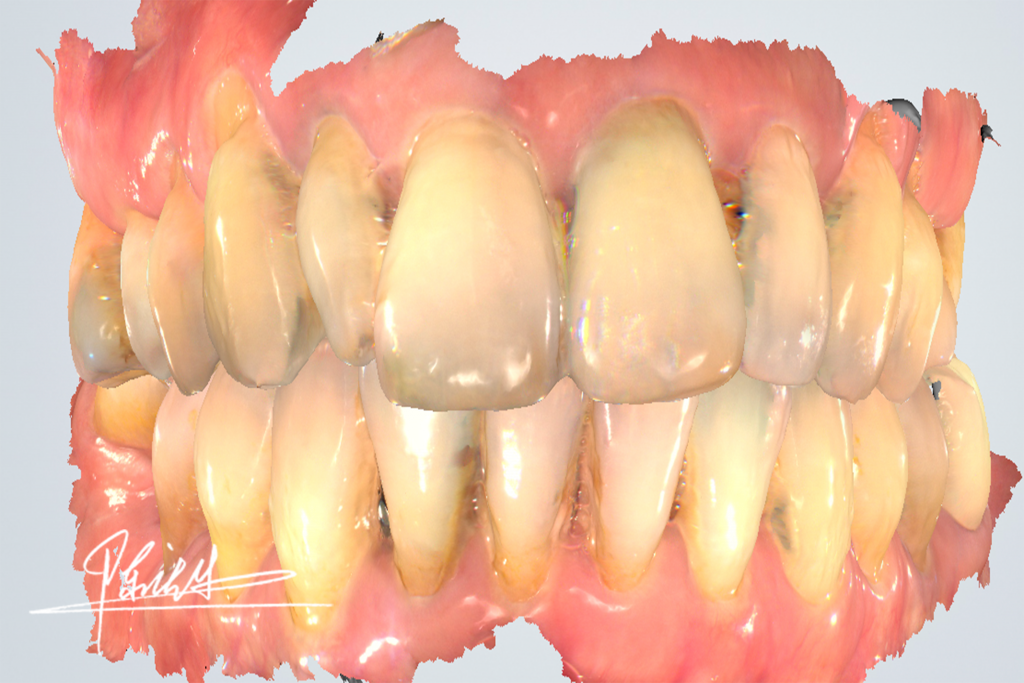
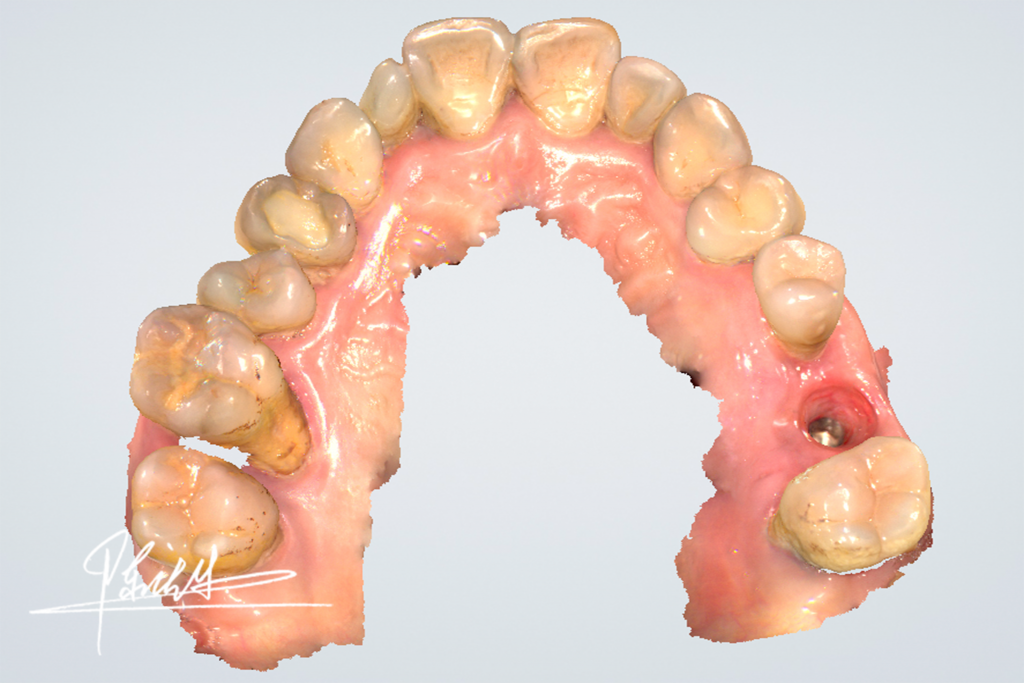
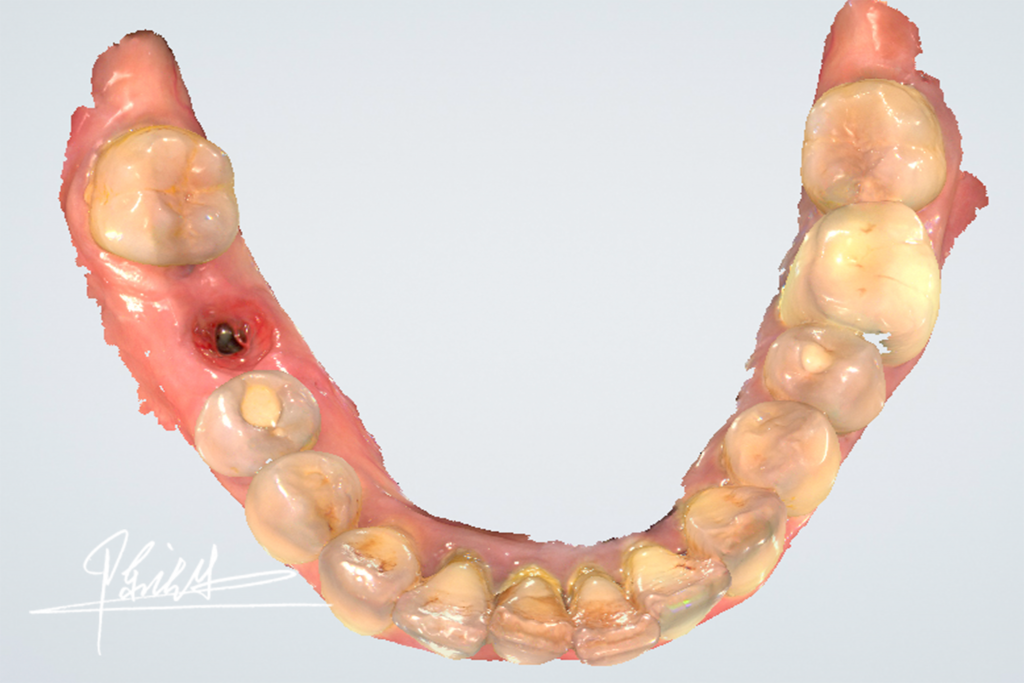
We use the Aoralscan to obtain the digital impression of upper and lower arch, instead of conventional impressions. This method is more effective and provides more comfort to patients.
4. CAD/CAM Prosthodontics
Design Implant Model
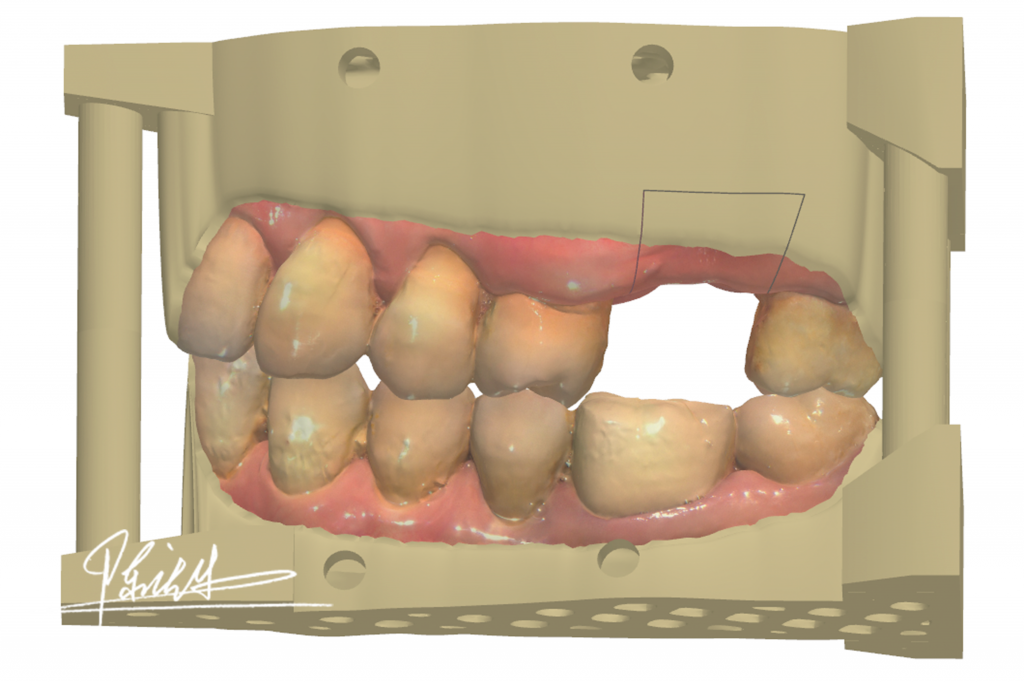
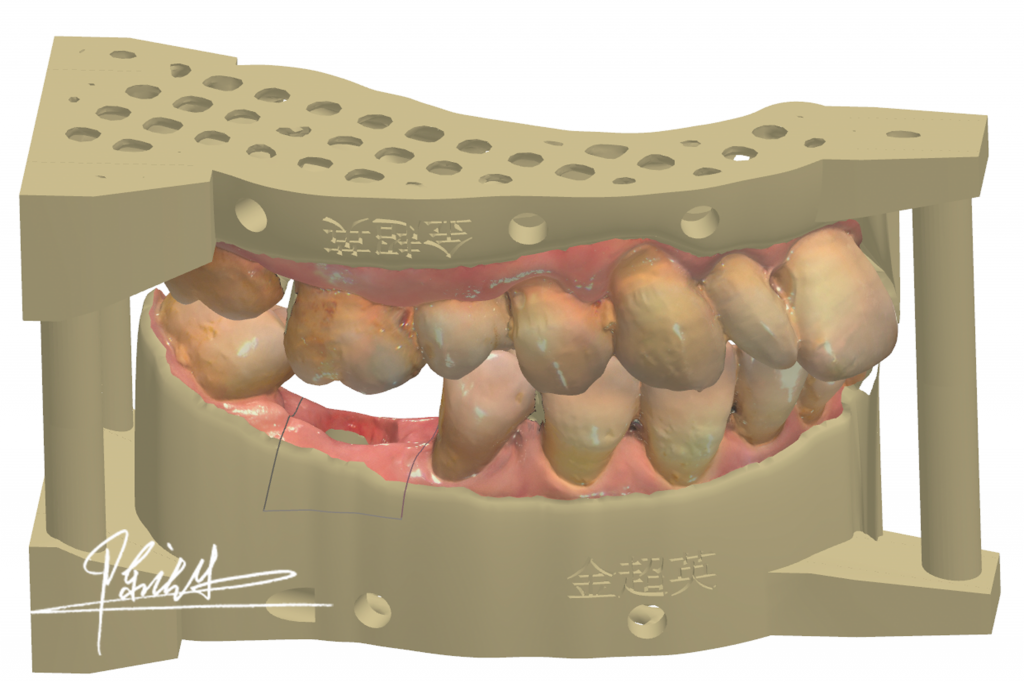
The 3shape software was used to design the model based on the “ply” format data exported by Shining3D Aoralscan intraoral scanner. This information can be imported into 3shape so it displays the TrueColor effect.
3D Print the Implant model
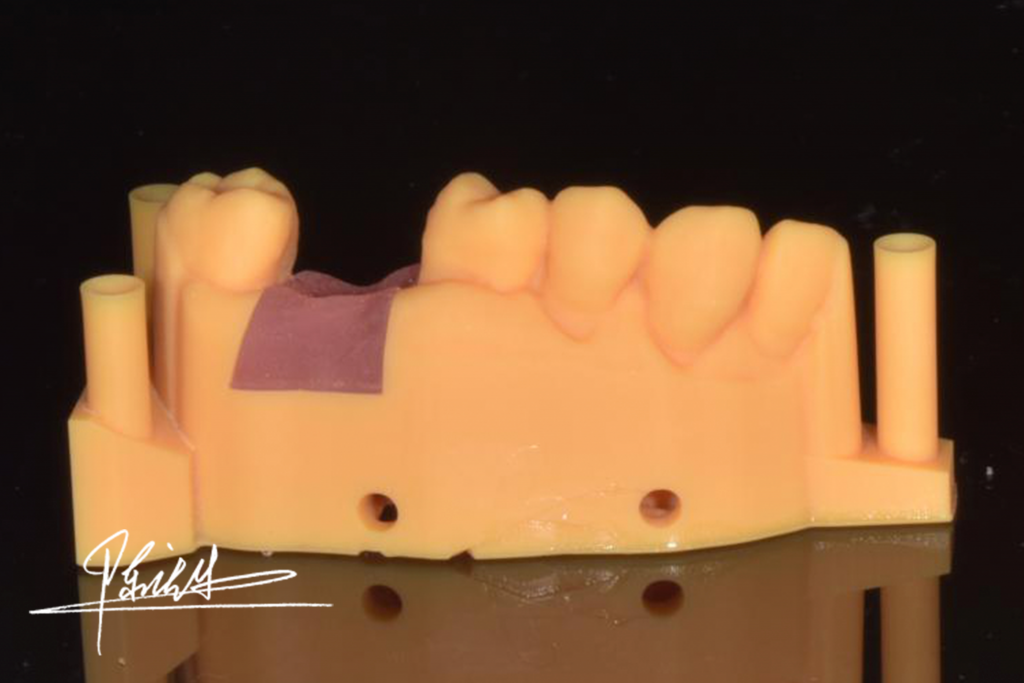
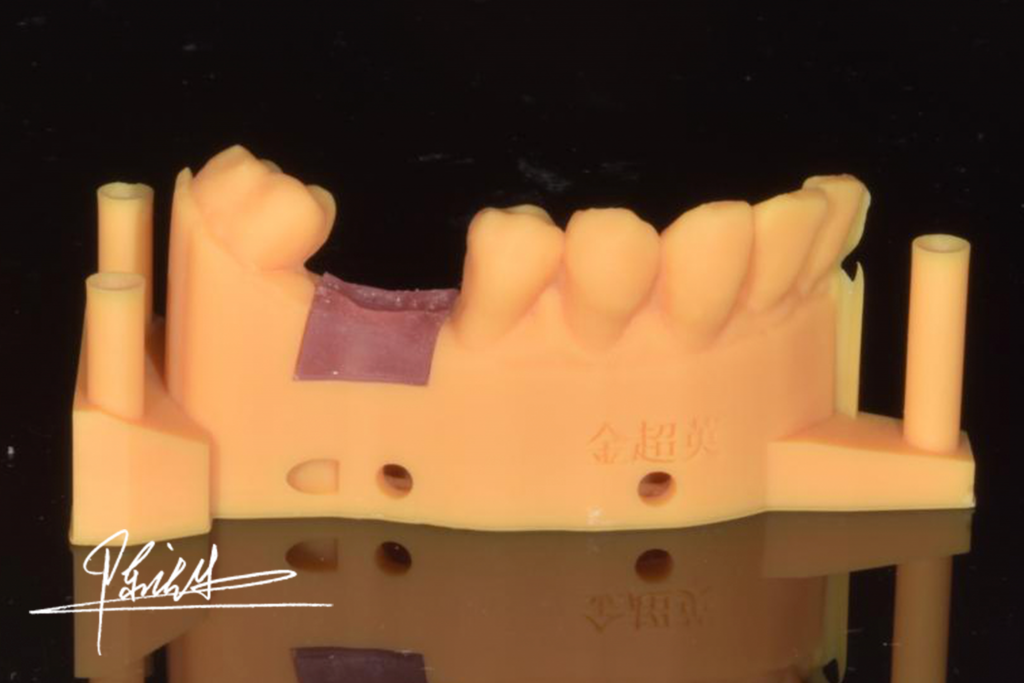

The Shining3D AccuFab-D1s 3D printer was utilized to fabricate the implant model.
Fabrication of the Customized Abutment
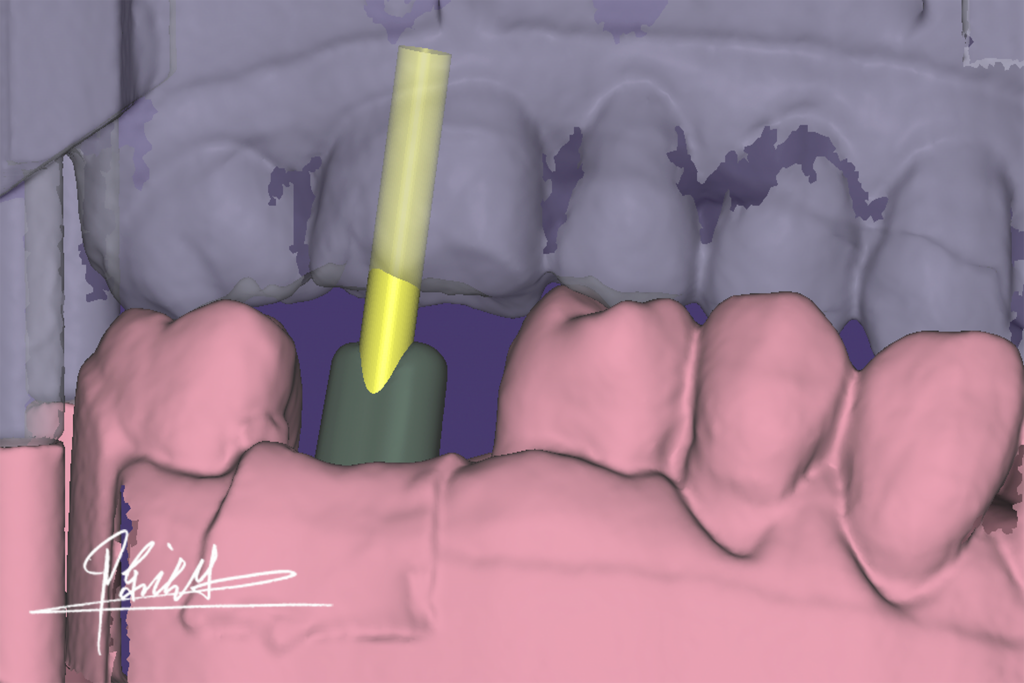
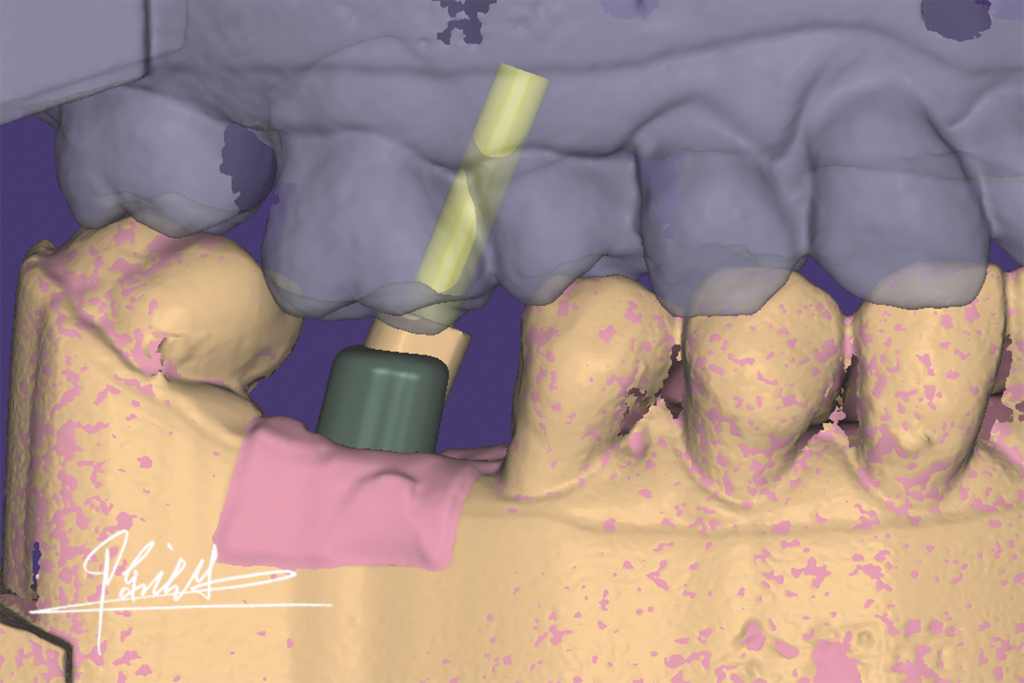


The customized abutment was designed in EXOCAD according to the digital model and milled afterwards
Manufacture the Zirconia Crown
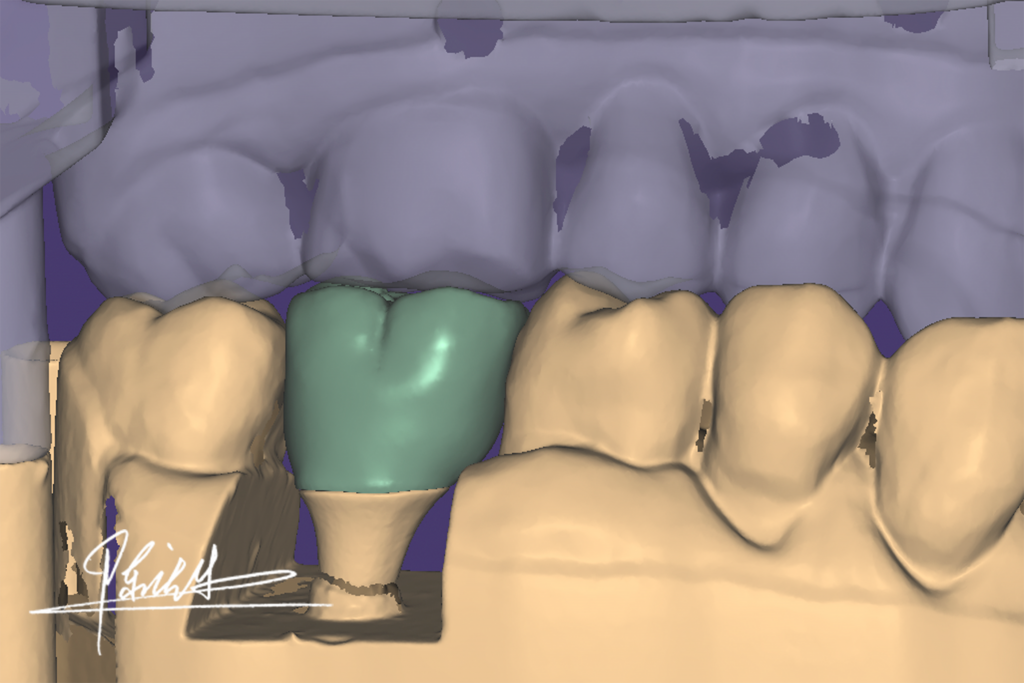
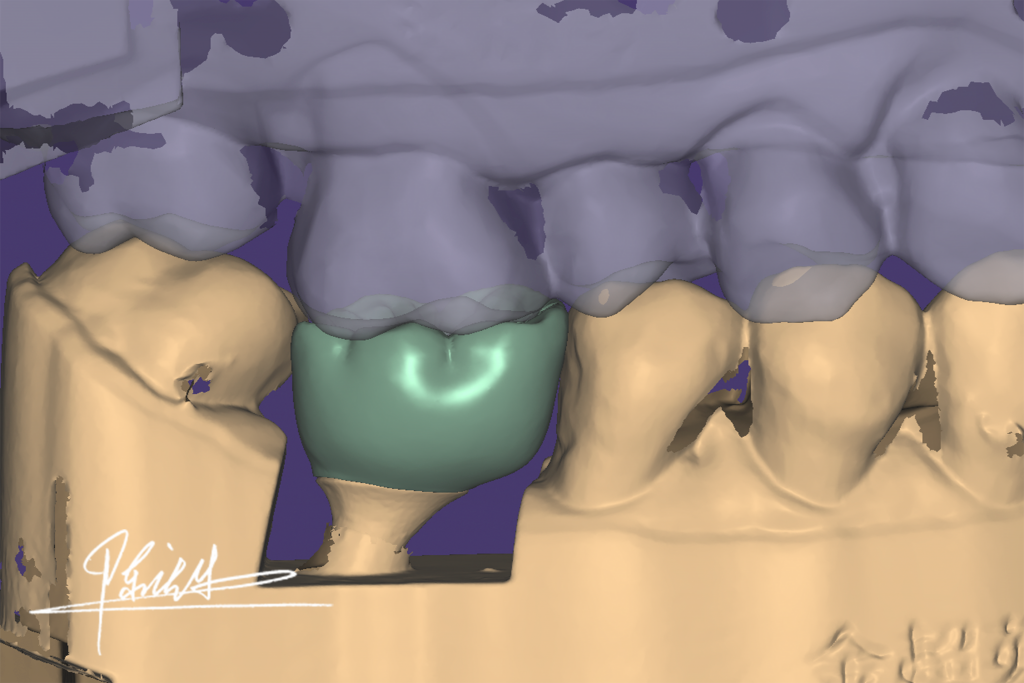

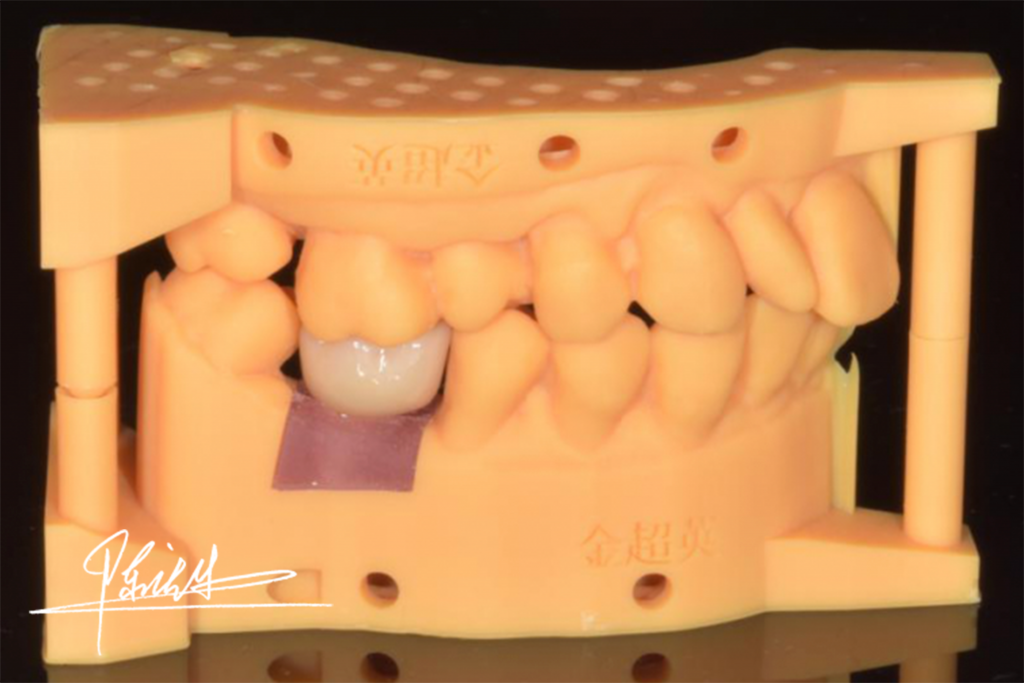

EXOCAD was also used to design the Zirconia crown and fabrication of the crown by milling method.
Fabricate the Implant Transfer Cap
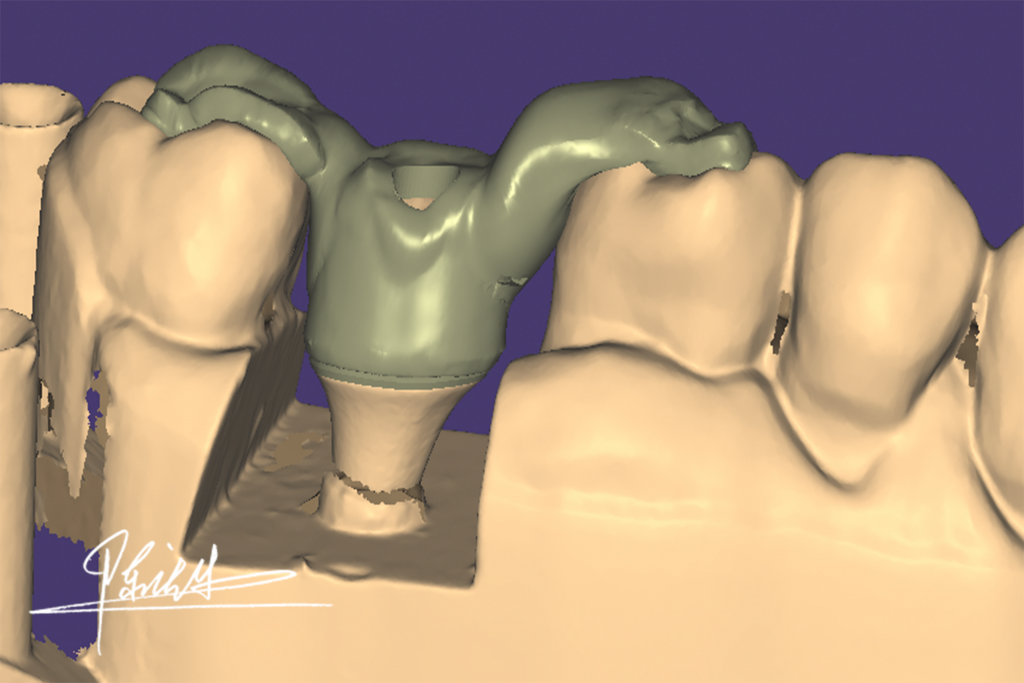
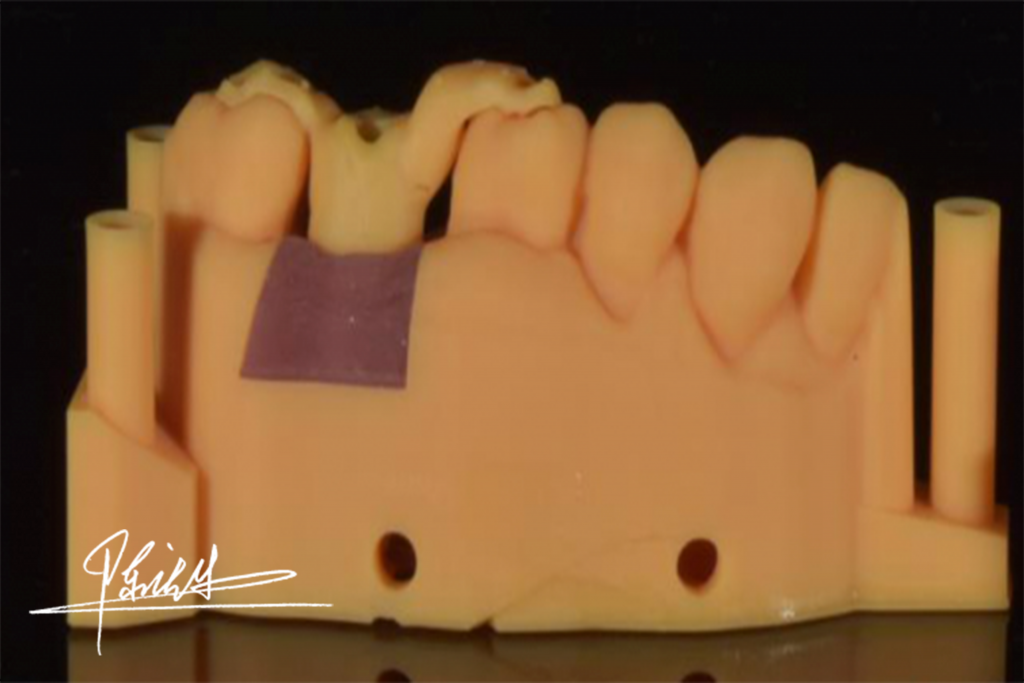
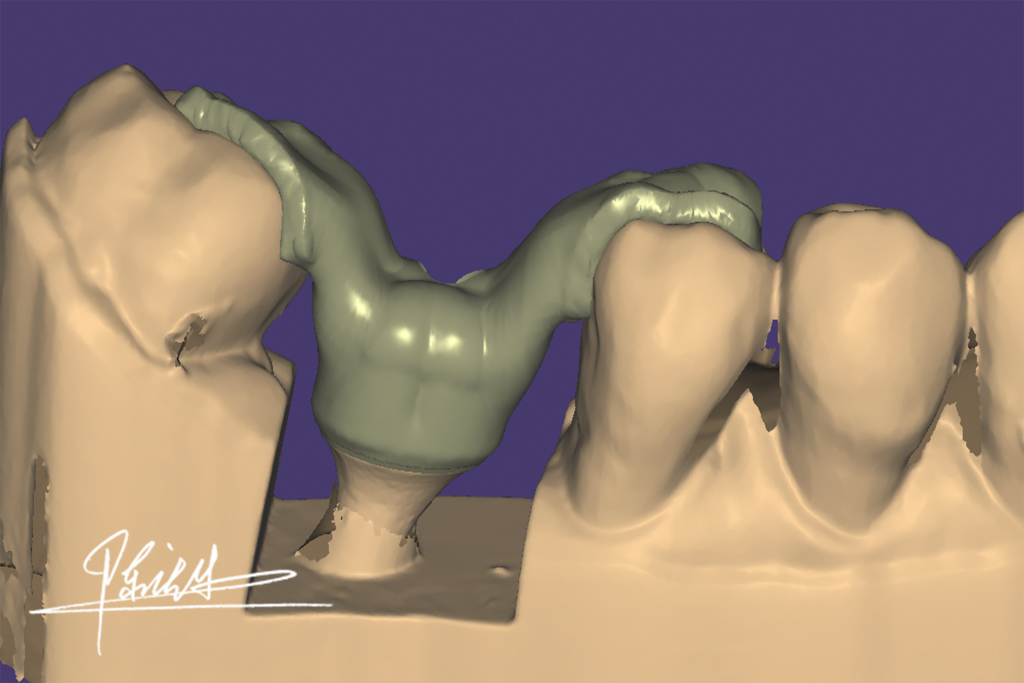
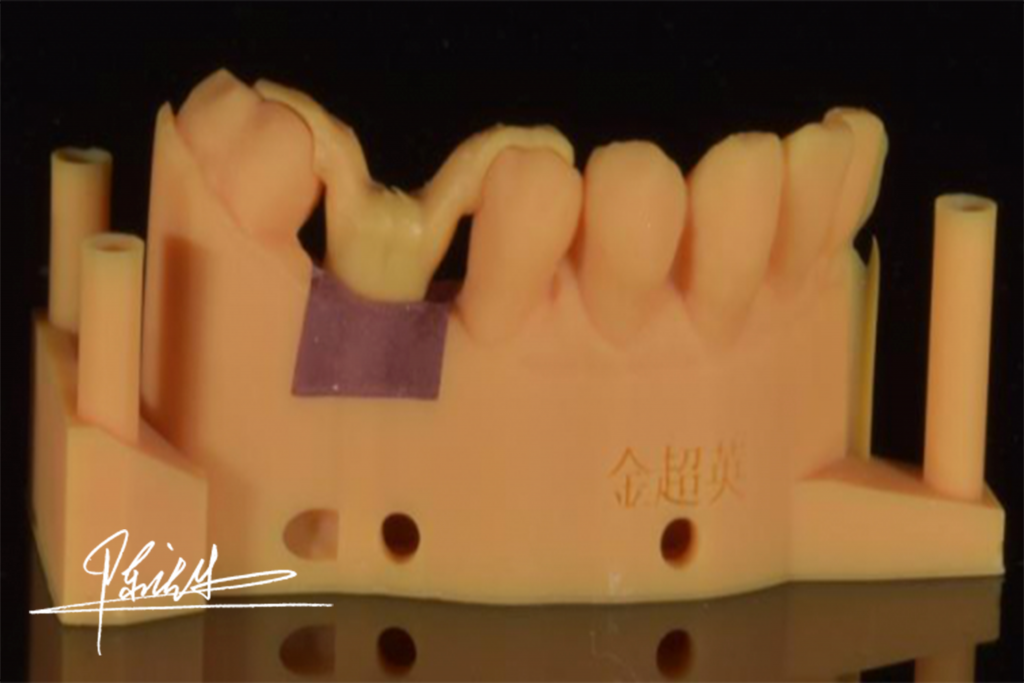

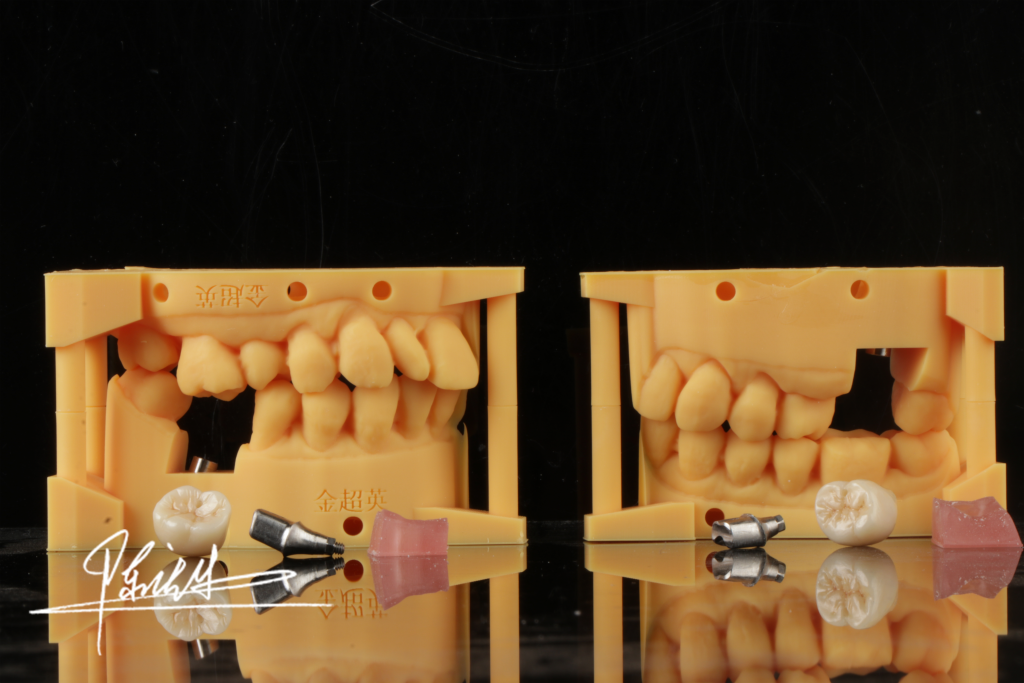
The Design of the implant transfer cap along with the Zirconia crown was printed by the Shining 3D AccuFab-D1.
Finishing
5. Restorations Try-in
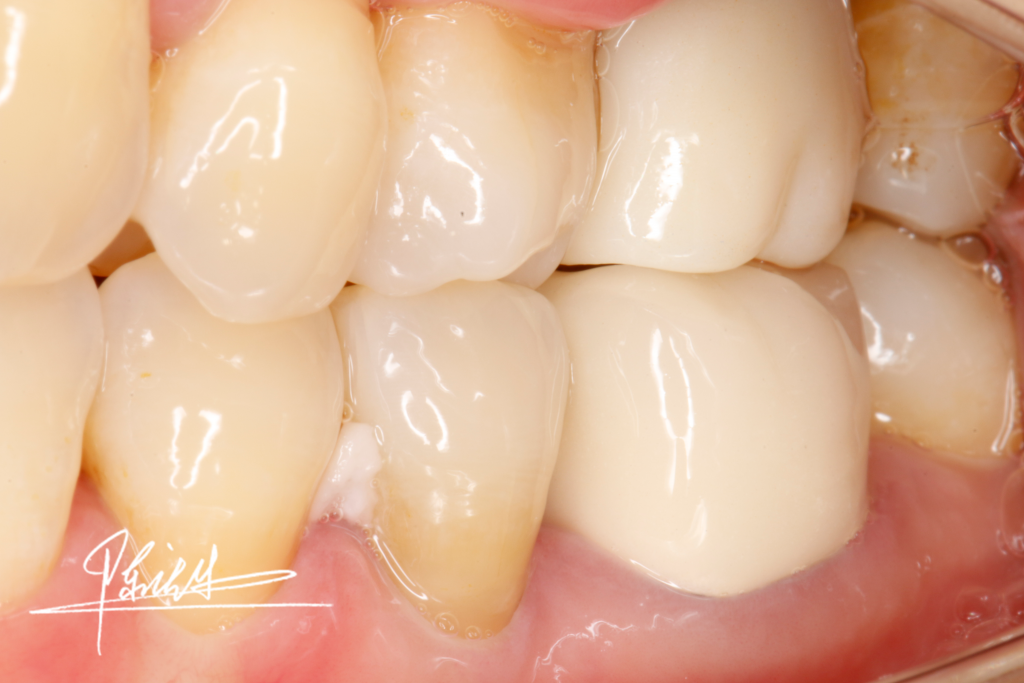
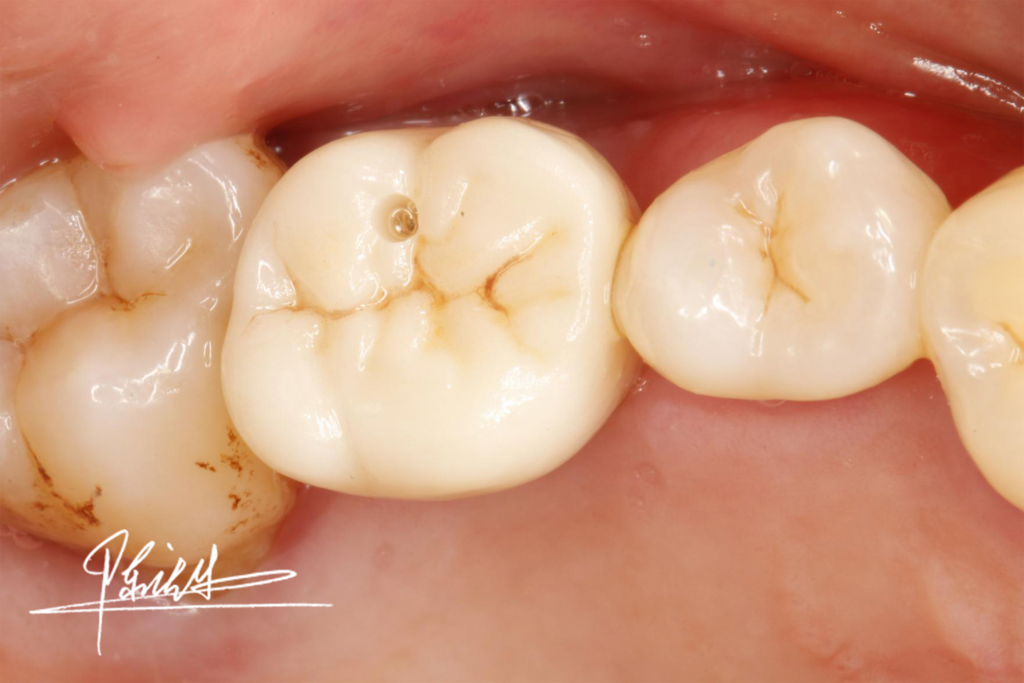
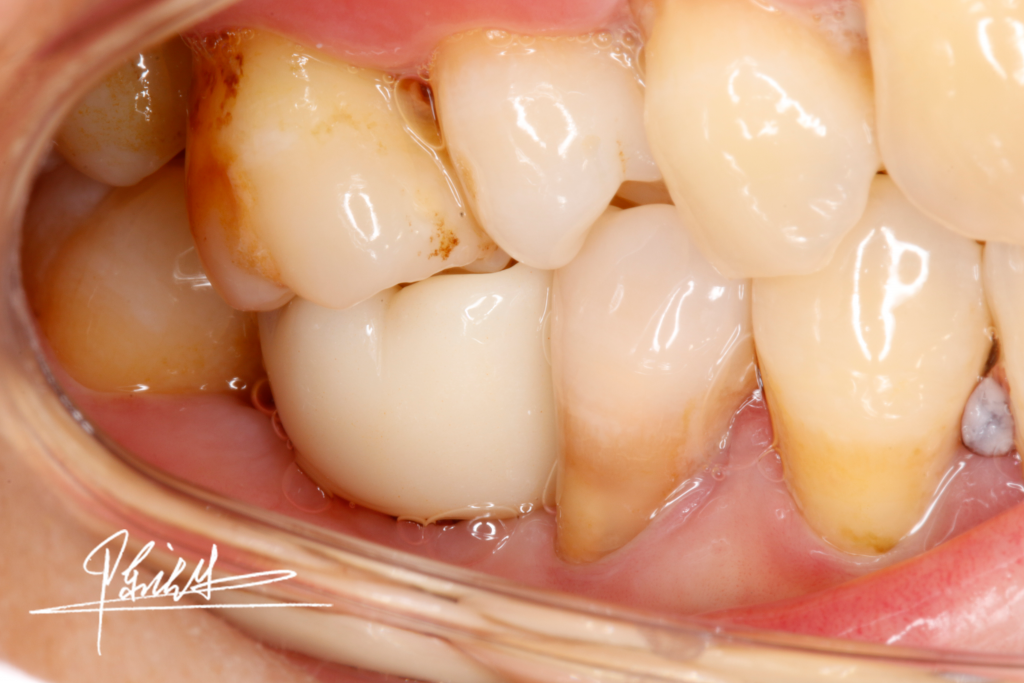
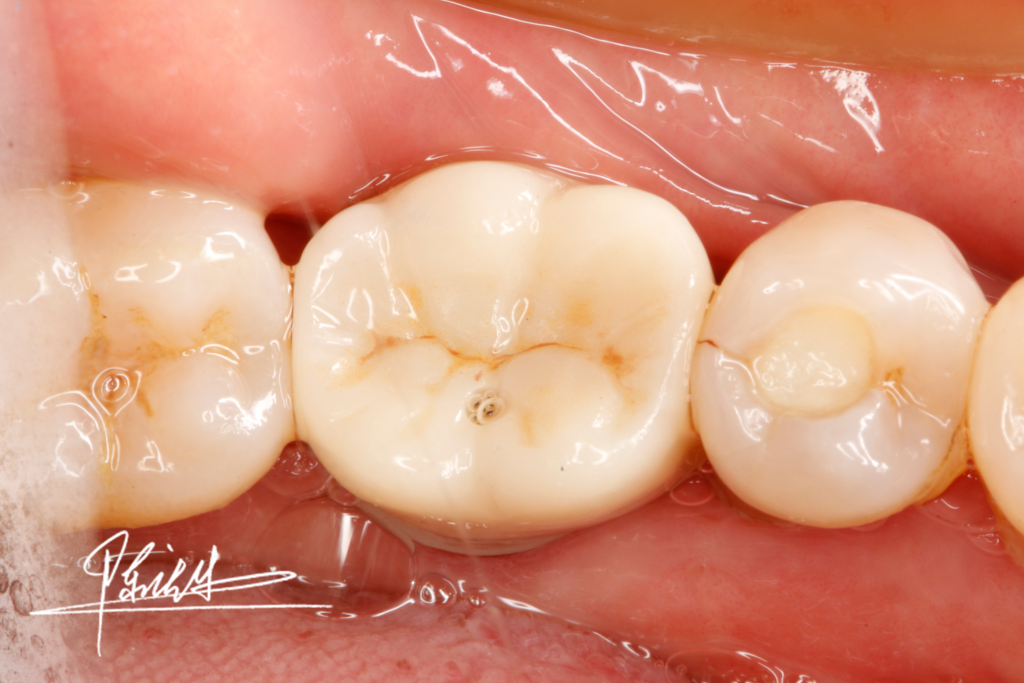
X-Ray examination was perfect when checking the accuracy of location, adjacency and occlusal relationship after place the final abutment and restorations.
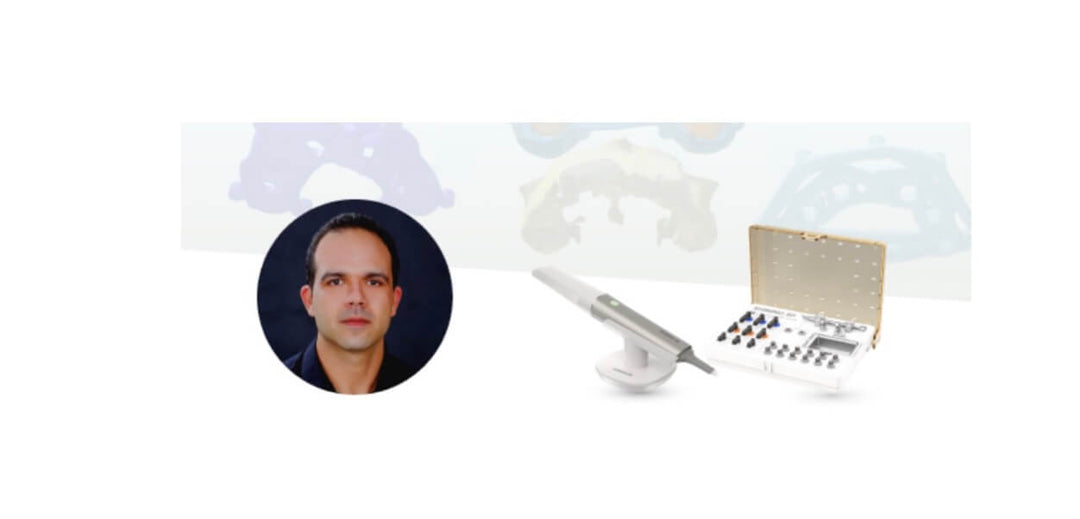
医生简介

主任医师,种植硕士,杭州口腔医院城西院区种植科主任;中华口腔医学会修复委员会委员,中华口腔医学会美学修复委员会青年委员,华人美学牙科学会常务理事;全国种植大赛中多次获奖。
Feedback of Using Shining3D CAD/CAM System to Fabricate Implant Restorations
The Shining 3D Aoralscan is fast and effective way of duplicating a patient’s oral information with a high accuracy. Dental practitioners can easily obtain the ideal restorations when working with a professional CAD software and a dental milling machine. The integrated CAD/CAM system provided by Shining3D not only reduces the work time of clinicians on chairside, but also improves the satisfaction of patients. We look forward for this system to be widely used for clinical applications in the future.





Leave a comment