ALL-ON-X AESTHETIC RESTORATION DESIGN DRIVEN BY AORALSCAN ELITE & METISMILE
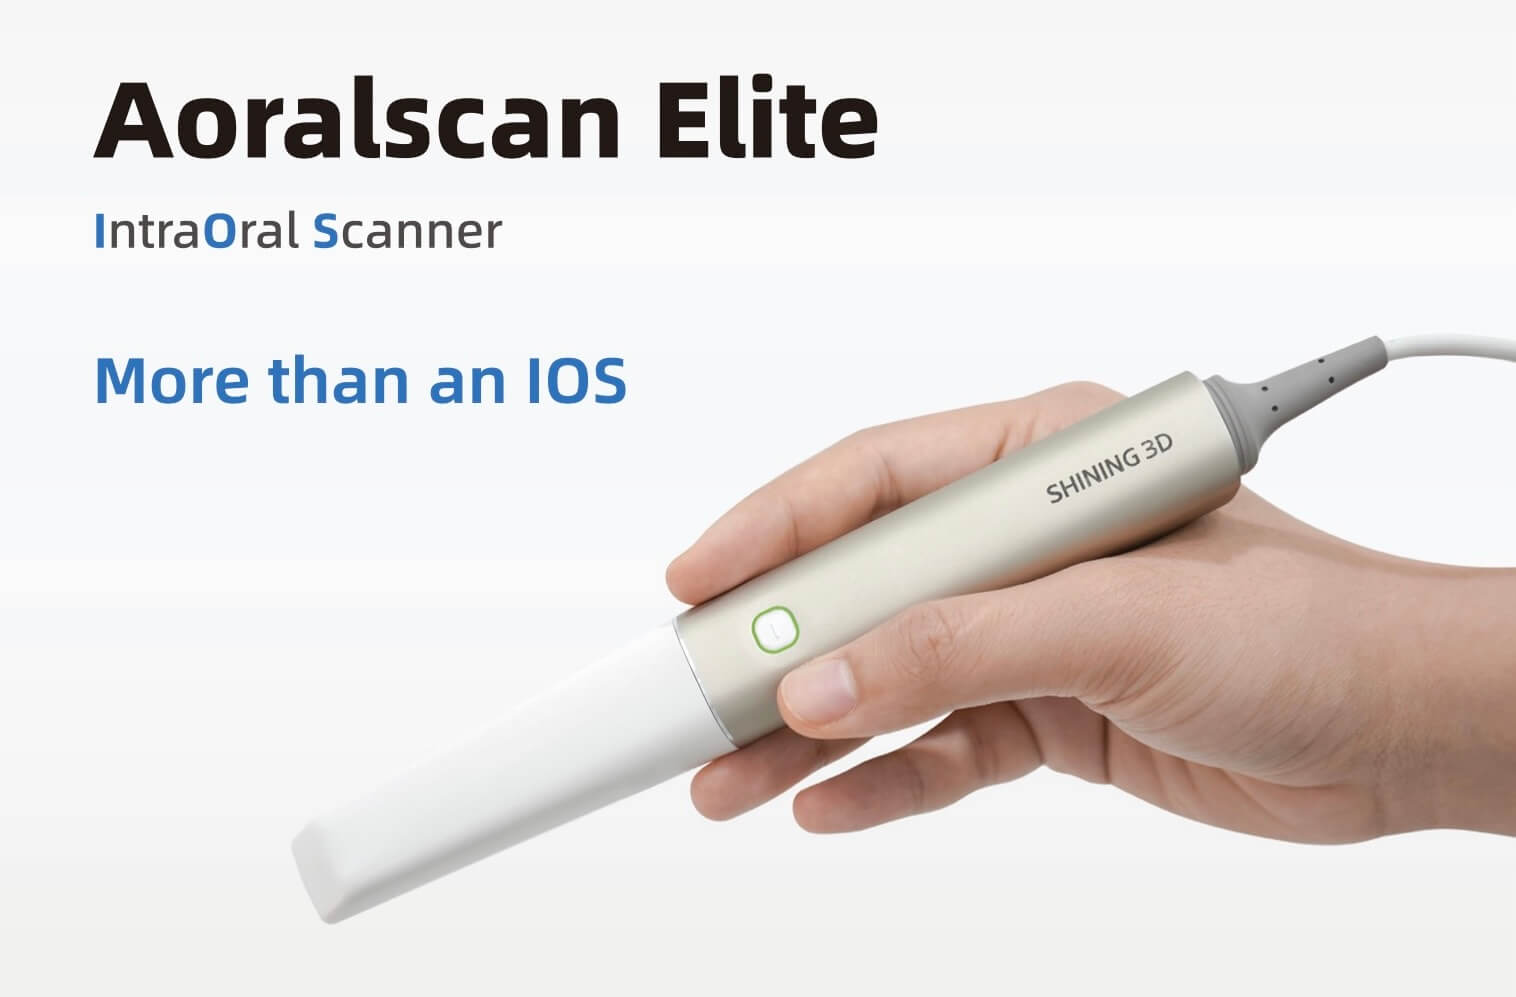
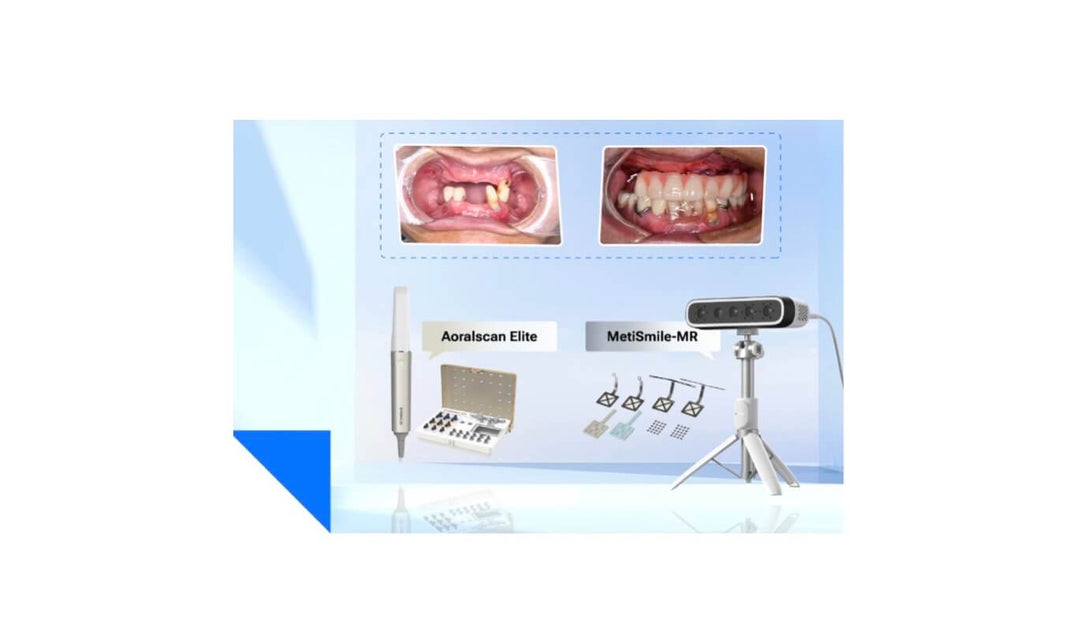
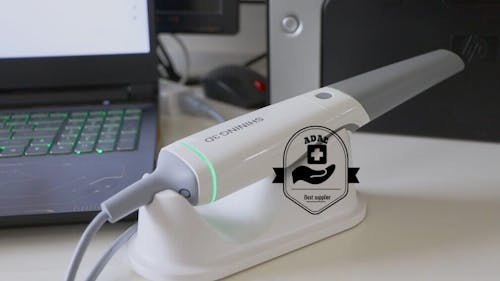
Photogrammetry is valued in implantology for its ability to produce detailed and accurate models that facilitate better treatment planning and execution. However, users usually need an additional intraoral scanner along with the photogrammetry device, which adds extra cost to the application of this technology. Shining 3D’s latest Aoralscan Elite combines the intraoral scanner and photogrammetry device into one unit, creating a two-in-one system that changes the dental implant scanning process to be easier, more affordable, and more precise.
Today’s case is from Dr. Abdelrahman Khalaf and Dr. Mohamed Khalaf. This study highlights the potential of the Aoralscan Elite and MetiSmile in enhancing the quality of dental restorations in all-on-X implant cases.
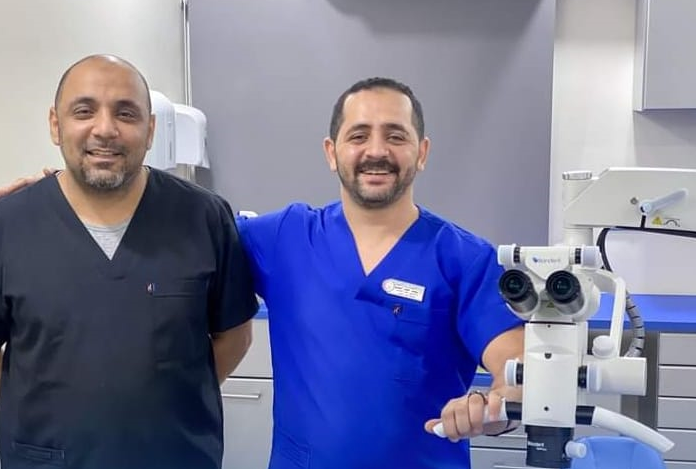
Fig 1:
Left:
Dr abdelrahman khalaf
BDS, MSc,PhD.
Lecturer at Periodontology Department -Assiut University.
Key Opinion Leader (KOL) Of Neobiotech.
Key Opinion Leader (KOL) Of ETK.
Senior CAD/CAM Consultant, Scientific Team Lab (STL), Assiut, Egypt.
Right:
Dr. Mohamed Khalaf
BDS, MSC
Master Degree of Endodontics ainshams university
Senior cad/cam Designer
Co-founder OF STL Digital lab
Co-founder OF Khalaf Dental Clinic
Case Overview
This is a full digital case with All-on-5 implant restoration in the upper jaw, prepared teeth in the anterior area, and implant restorations in the posterior area of the lower jaw. By utilizing digital means such as photogrammetry technology and facially driven aesthetic restoration technology, accurate full arch restoration and occlusal reconstruction can be accomplished.
Treatment Process
1st phase implant surgery and teeth preparation
Fig 2: The occlusion view, after teeth preparation and implant surgery in the lower jaw.
Fig 3: The occlusion view, after implant surgery in the upper jaw.
The patient completed the first phase of implant surgery six months ago. Upon examination, the gums showed no abnormalities, and there was no inflammation in the soft tissue. The tissues around the implants were stable, and X-rays confirmed good bone integration with no signs of inflammation or shadows around the implants. The patient is now ready for the permanent restoration.
Scan process

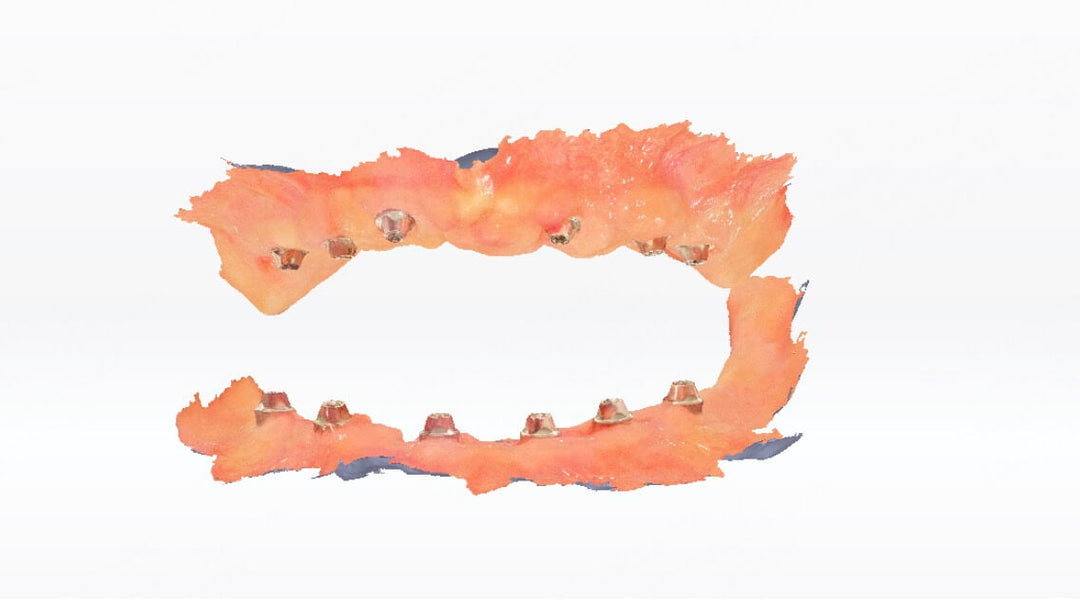
Fig 4: Scan the upper edentulous arch.
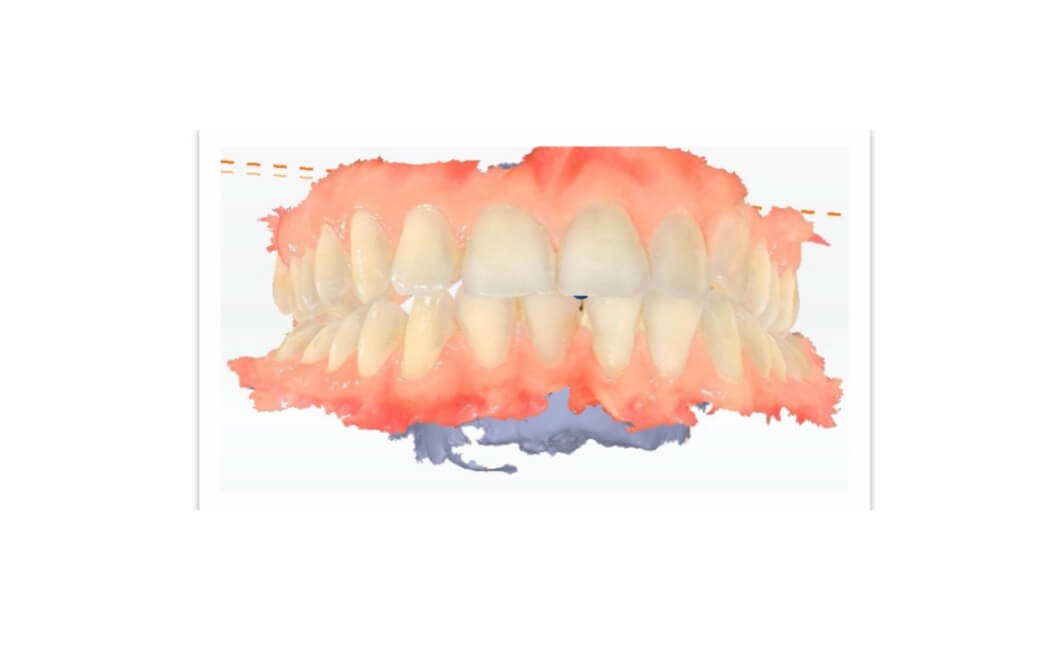
Capturing data from edentulous jaw soft tissues can be challenging due to their smooth texture, lack of distinct features, and tendency to move during scanning. However, the Aoralscan Elite intraoral scanner addresses this issue effectively by using the IPG tip, which offers a large field of view and is paired with a specialized algorithm. This combination allows for quick and accurate acquisition of data of edentulous jaw soft tissues.
Fig 5, Fig 6: Scan the coded scanbody.
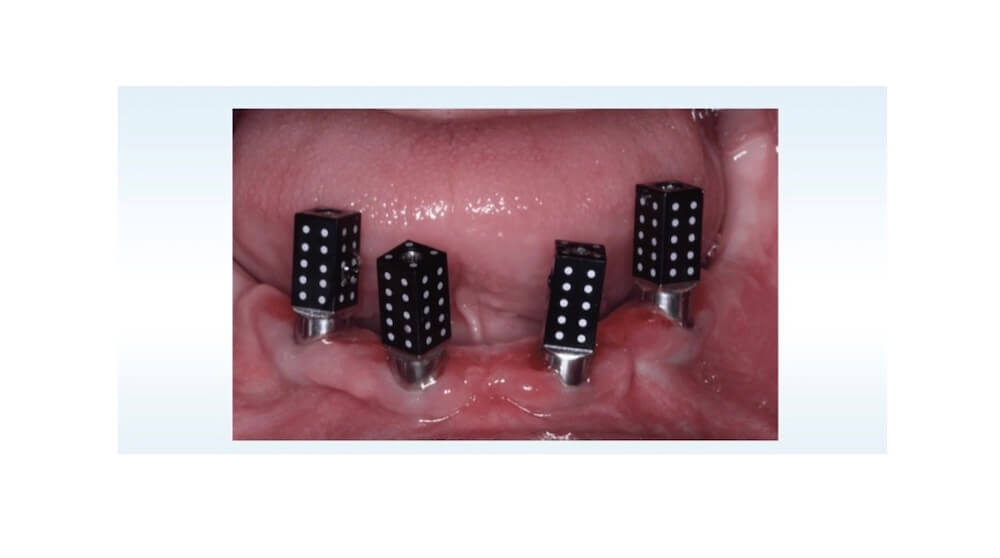
After completing the soft tissue scan, install the coded scanbody in the patient’s mouth, ensuring that each one is positioned correctly, with the ends facing toward the center as much as possible. It’s crucial for all coded scanbodies to be placed precisely. If possible, take an X-ray to confirm their proper seating, as some areas may be affected by the gums, which could prevent the coded scanbodies from fully seating, leading to the failure of the entire restoration. Additionally, before scanning, make sure the coded scanbodies are clean and free of blood and saliva.

Fig 7: Scan to match the coded scanbody and the soft tissue
Scan the adjoining area between the base of coded scanbody and soft tissue until both the data move to the center of the interface, which means that the alignment is complete.

Fig 8: Transfer the coded scanbody to the implant library
Select the appropriate implant library from the database. After making the replacement, you’ll obtain the corresponding compatible implant scanbody. All implant positions can then be directly imported into EXOCAD for further design. Our software provides access to libraries for all compatible systems, and you can also import third-party libraries.
Fig 9, Fig 10: Scan the jower jaw.
In the lower jaw, the anterior area is prepared and the posterior area has 3-unit implant bridges on each side, we need to insert a normal scanbody in the posterior area and complete the scan in the regular implant workflow.

Fig 11: Scan the bite
Confirm and fix the occlusion before taking the bite scan as there is no teeth in the opposite arch, therefore we need to use some putty consistent with the patient’s VDO which will determine the space for the future restoration.
Design process
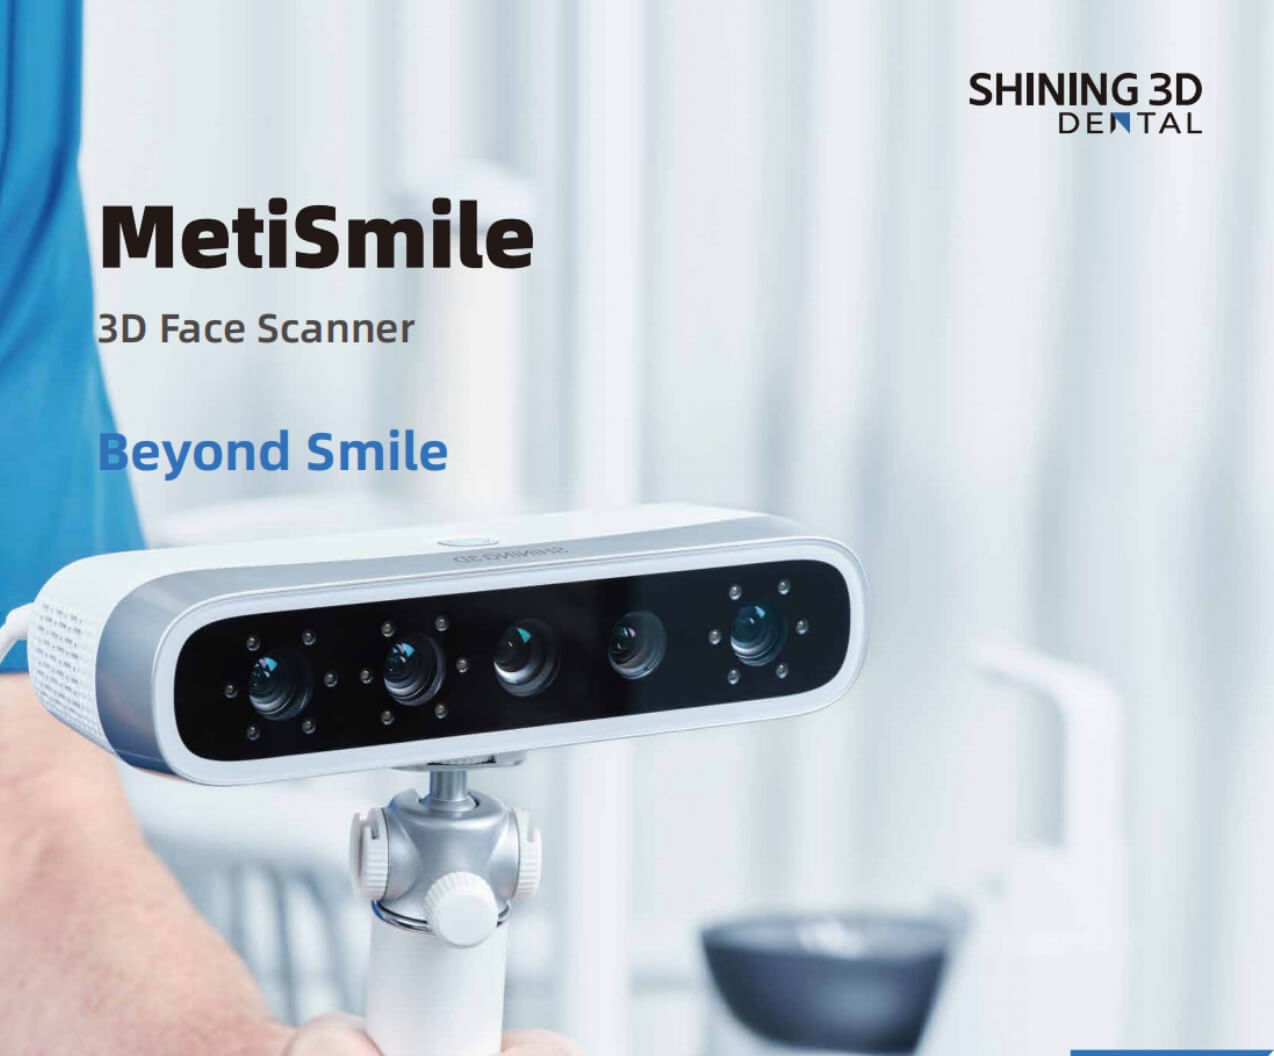
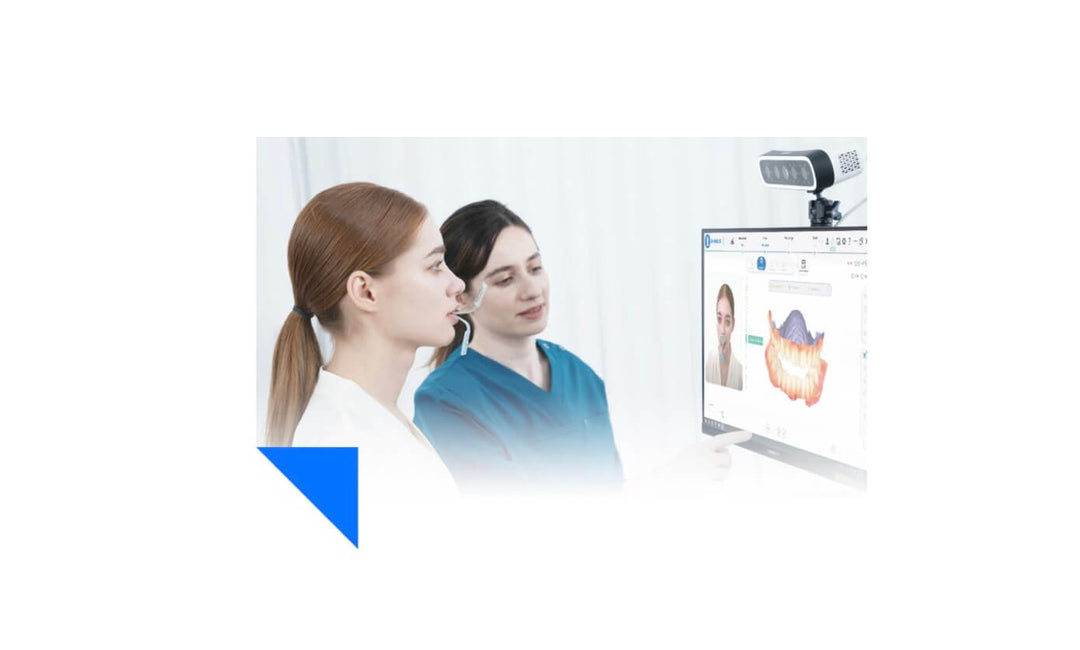
Use MetiSmile to capture facial data and combine it with intraoral data for aesthetic restoration design. By referencing the facial data, we can quickly and easily determine the occlusion plane, incisal edge horizontal plane, midline, and tooth shape. This approach also allows for real-time visual confirmation of the aesthetic design’s effects.
Fig 12,13, 14, 15: Design the restorations in exocad, with the combination of face scan data for a more comprehensive analysis.
Final restorations try-in
The restoration trial on the printed models shows a perfect fit for both the upper and lower jaws. If any adjustments are needed, technicians and dentists can make changes at this stage before trying it in the patient’s mouth.
Fig 16, 17, 18, 19: The try-in process in physical model, it shows a perfect fit.
Fig 20, 21,22,23: The restoration trial in the patient’s mouth shows a perfect fit, and X-rays confirm that both the upper and lower implant restorations achieve a passive fit.
Comments from Dr. Abdelrahman Khalaf and Dr. Mohamed Khalaf:
This combination of Aoralscan Elite and MetiSmile makes full-arch implant aesthetic restoration straightforward. We’ve used Elite and MetiSmile together on multiple all-on-X implant cases and have found them to be fantastic!




Leave a comment